

Digital Fabrication Lab Equipment Guide 2026
What makes a digital fabrication lab effective isn’t the number of machines, but how well its tools support learning goals. For schools and institutions across the UAE, choosing digital fabrication lab equipment means weighing what learners need to make against each tool’s capabilities, materials, workflow, and operating requirements.
Start with the learning activity, then map the steps from design and file preparation to making, testing, and refining a prototype. This guide explains what core equipment does, how to compare options, and what to plan for materials, training, space, and safe operation.
Explore how 3D printers, laser cutters, CNC machines, design software, and supporting tools can contribute to hands-on learning. The right combination depends on learner experience, curriculum, intended projects, and the institution’s ability to supervise each process. Whether you’re planning for K-12, higher education, or vocational training, an integrated lab connects equipment choices to a clear educational purpose. Ednex designs and implements educational labs around institutional disciplines and learning goals.
Key Takeaways
- Plan around the full learning workflow, from digital design and file preparation to making, testing, and improving a prototype.
- Compare additive manufacturing, cutting, machining, and supporting tools by the tasks they perform, not just by equipment category.
- Match digital fabrication lab equipment to curriculum goals, learner experience, suitable materials, and expected project complexity.
- Plan materials, layout, supervision, and operating procedures alongside equipment selection.
- Use an institutional brief to guide a coordinated lab configuration tailored to disciplines and learning goals.
What Digital Fabrication Lab Equipment Enables in Educational Settings
Digital fabrication lab equipment is a set of digitally controlled tools that turns digital designs into physical objects through processes such as printing, cutting, and machining. Its educational value comes from connecting design with practical making. Learners can create a model, prepare it for a machine, examine the result, and revise the design. This makes abstract ideas tangible while giving students a practical way to explore how design decisions affect an outcome.
A useful lab is more than a room with machines. It brings equipment, suitable materials, design tools, file preparation, workspace, and safe operating practices together in a workable process. A machine may go unused if learners lack the right files, materials, or instruction. Planning these elements as a system helps educators connect equipment choices to curriculum and project requirements. The field of Digital modeling and fabrication offers a foundation for understanding how computer-aided design connects with additive and subtractive methods.
How digital fabrication turns digital designs into physical work
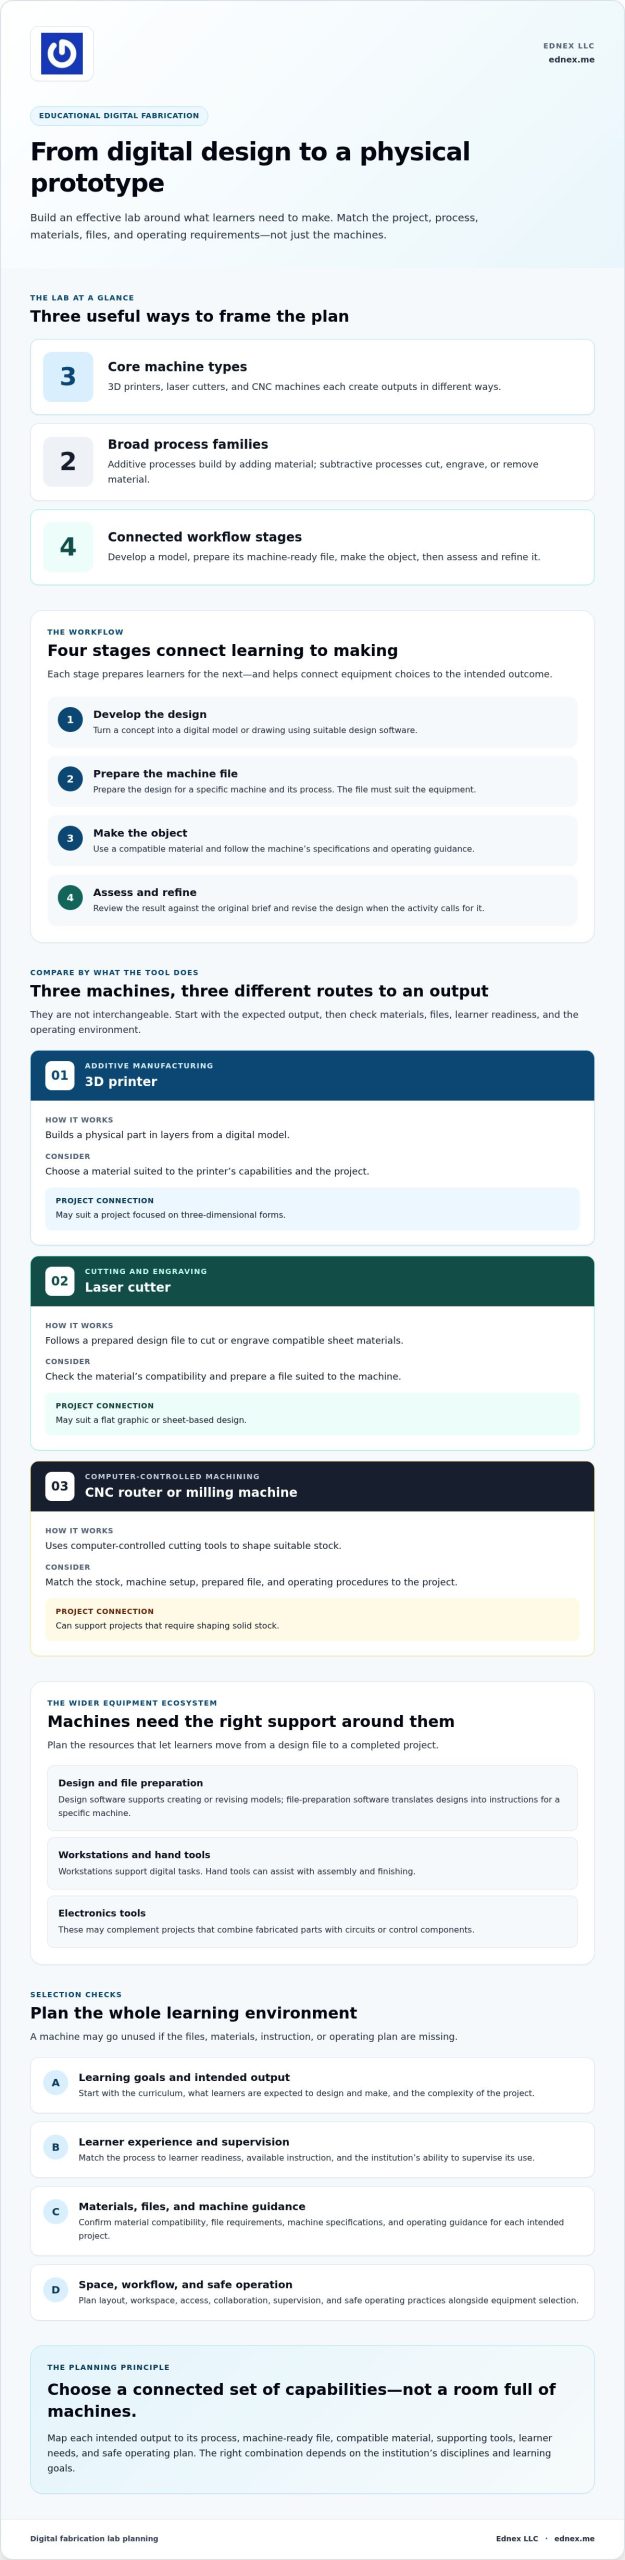
A project usually begins with a concept that a learner develops into a digital model or drawing. Next, the design is prepared for a specific machine. The file must suit the process, and the material must be compatible with the machine’s capabilities and operating guidance. The machine then follows the prepared instructions to produce an object, which learners can assess against the original brief.
For example, a class exploring a bridge concept might create a small digital model, prepare a machine-ready file, and produce a physical prototype using a suitable process and material. Learners can review the shape and revise the design if the activity calls for it. A 3D printer, laser cutter, and CNC machine have different purposes, file requirements, setup processes, materials, and operating procedures. Matching the project to the process is essential to a useful fabrication activity.
Who uses educational fabrication equipment, and what can they make?
In K-12 settings, educators may use fabrication for model-making, introductory prototypes, and visual communication projects. Higher education can apply fabrication workflows to physical models, design prototypes, and components connected to a course or discipline. Vocational training can use equipment for applied projects that reflect technical processes. The right level of complexity depends on the learning goals, learner experience, supervision, and selected tools.
Outputs can range from a presentation model or cut-out visual design to a functional prototype or component for a larger project. Choose equipment based on what learners are expected to design and make, rather than assuming every institution needs every machine. Layout, access, instruction, and collaboration also affect how projects move from idea to finished work. For that wider context, explore hands-on Makerspace design for schools.
Core Digital Fabrication Lab Equipment and What Each Tool Does
Begin equipment planning with the intended output and the process needed to create it. A model, flat-pack structure, machined component, and electronics-enabled prototype call for different tools and preparation. The goal isn’t to put every available machine in one room. It’s to select a connected set of capabilities that fits the curriculum, learner experience, materials, and expected project complexity.
Additive printing builds an object by adding material, while subtractive cutting and machining shape stock by cutting, engraving, or removing material. This distinction helps educators compare tools by function. Each machine has its own specifications and operating guidance, which should inform the files, materials, and projects assigned to it.
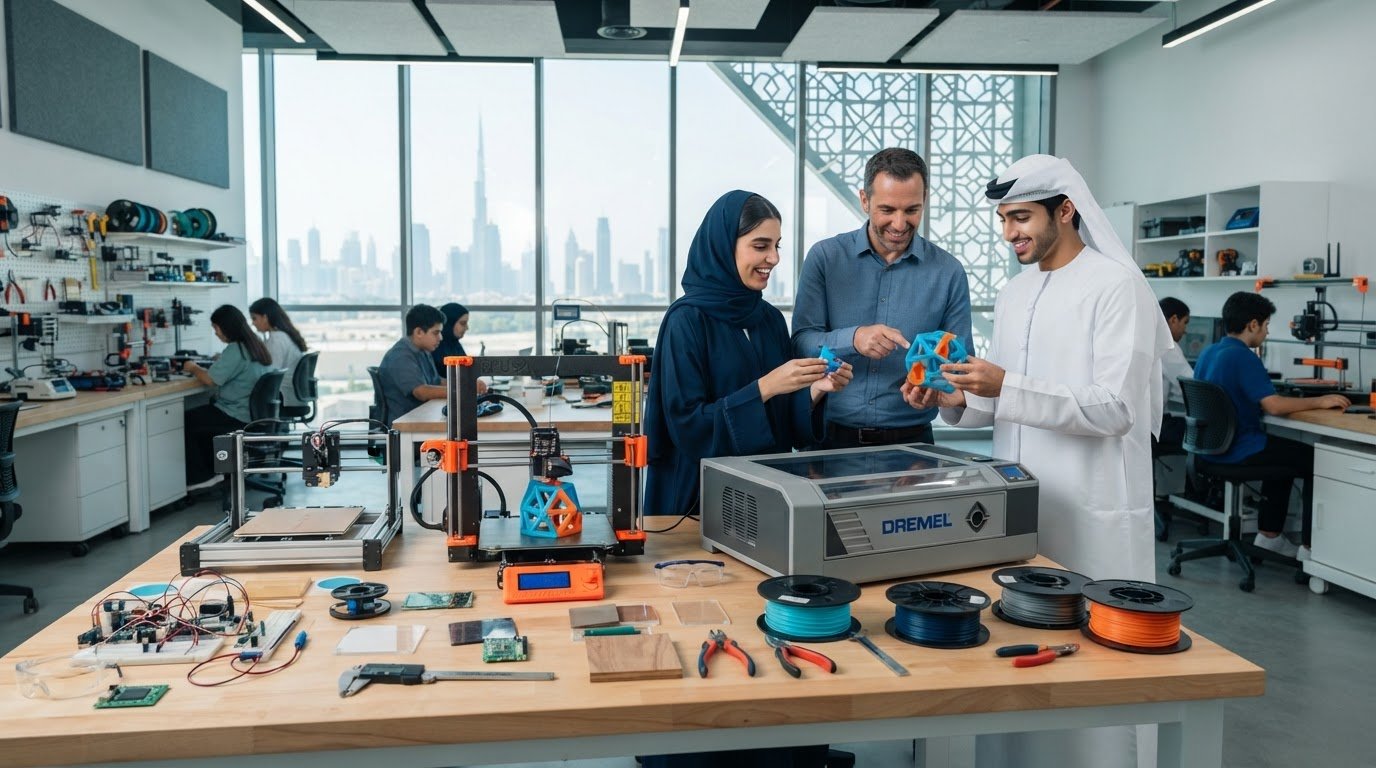
3D printers, laser cutters, and CNC machines
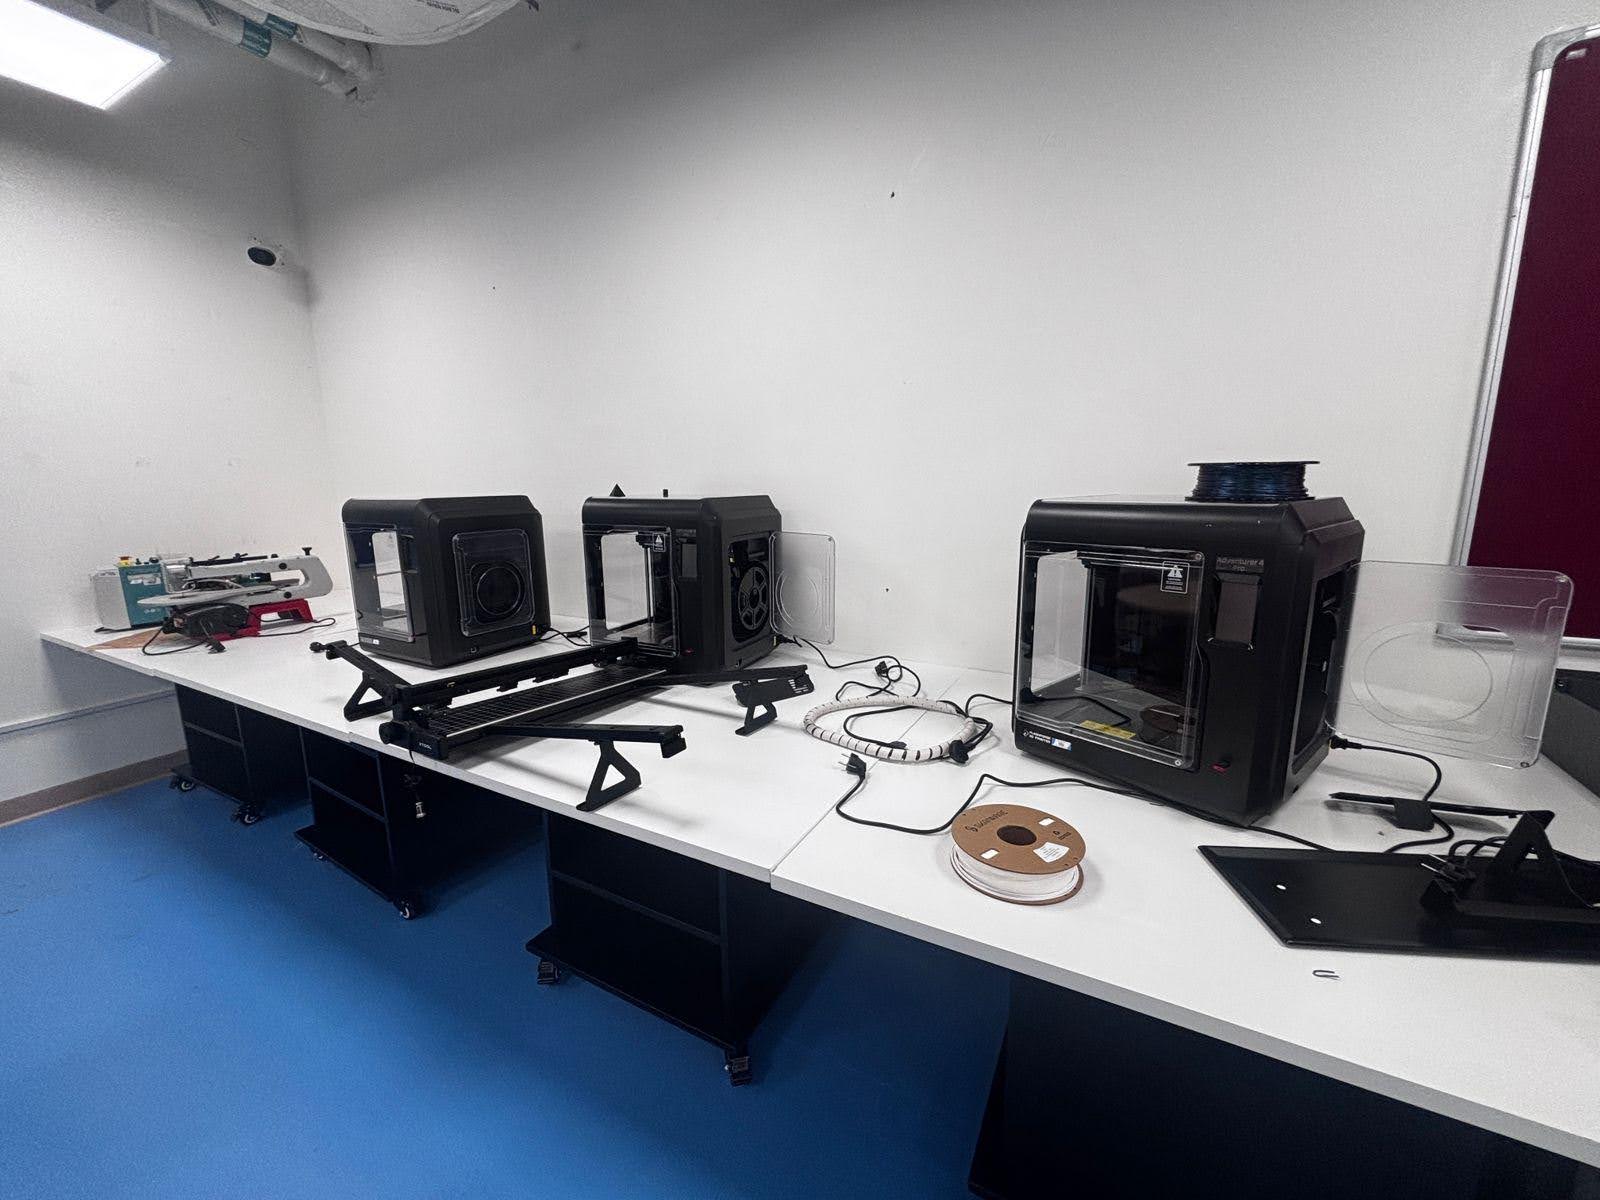
These core tools serve different purposes. A 3D printer builds a physical part in layers from a digital model. The material must suit the printer’s capabilities and the project. A laser cutter follows a prepared design file to cut or engrave compatible sheet materials. A CNC router or milling machine uses computer-controlled cutting tools to shape suitable stock.
Think of these as different routes from design to output, not interchangeable machines. A flat graphic or sheet-based design may call for a cutting process, while a project focused on three-dimensional forms may suit printing. Machining can support projects that require shaping solid stock. To choose between them, identify the expected output first, then consider material compatibility, learner readiness, file preparation, and the operating environment.
Supporting equipment, software, and project tools
The machines are only part of the digital fabrication lab equipment ecosystem. Design software lets learners create or revise models; file-preparation software translates those designs into instructions a specific machine can use. Workstations support these tasks, and hand tools can assist with assembly and finishing. Electronics tools may complement projects that combine fabricated parts with circuits or control components.
Plan supporting resources around the projects and machines they serve. For each intended output, map the required design files, compatible materials, machine specifications, and follow-on tasks. This makes it easier to spot a missing step, such as a file-preparation requirement or a need for assembly tools, before finalizing the equipment plan. For wider technical-lab context, explore futuristic engineering lab solutions.
- Additive manufacturing: Builds physical parts from digital models, making it relevant to projects that require three-dimensional forms.
- Laser cutting and engraving: Uses design files to process suitable sheet materials into cut or marked outputs.
- CNC machining: Shapes compatible stock when a project calls for a subtractive process.
- Supporting tools: Provide the software, workstations, and project resources needed to prepare, complete, or extend fabrication tasks.
A coordinated setup connects these capabilities to learning goals instead of treating each machine as a standalone purchase. Ednex designs and implements educational labs around institutional disciplines and intended workflows. Explore Ednex’s educational lab design and implementation as a foundation for shaping that environment.
How to Compare Digital Fabrication Equipment for Your Institution
Compare equipment by the learning workflow it must support, not by novelty or a long list of features. Begin with the curriculum outcome, then consider learner age and experience, intended materials, project complexity, supervision, and available space. For a practical comparison, write down what learners will make, identify the process needed, and check that the proposed equipment and supporting resources can complete each step.
| Tool category | Suitable process | Sample output | Planning considerations |
|---|---|---|---|
| 3D printer | Additive prototyping from a digital model | Study model or design prototype | Match material and part requirements to the machine’s specifications, workflow, and learner readiness. |
| Laser cutter or engraver | Cutting or marking suitable sheet materials from a design file | Flat component, sign, or visual design | Consider material compatibility, file preparation, layout, and safe operation. |
| CNC router or milling machine | Computer-controlled cutting or shaping of compatible stock | Machined component or shaped form | Plan for machine operation, suitable materials, workspace, and the project’s required complexity. |
| Design workstations and software | Model creation, file preparation, and project coordination | Machine-ready design file | Align software and computer access with the machines and the learners’ level of experience. |
Use the table as a starting point, not a universal specification sheet. Machine capabilities, compatible materials, and operating requirements vary by equipment. For each shortlisted option, trace the workflow from the design task to the machine input and finished output. If a required step, material, or supporting tool is missing, the workflow may not fit the intended activity.
Match equipment capabilities to learning outcomes
For introductory design exploration, prioritize workflows that let learners create and examine models at an appropriate level of complexity. Engineering or manufacturing projects may call for different processes, materials, and levels of precision. Separate foundational activities from advanced research or vocational training, then select capabilities that fit each stage. A more capable machine isn’t automatically the better educational choice if its workflow exceeds the curriculum or learners’ current experience.
Balance capability with space, staffing, and use
Map how learners, materials, and projects will move through the room. Plan for machine placement, access, storage, supervision, and space for preparation and review. Consider who will guide machine operation and file preparation, and how learners will move between project stages. Staff readiness is part of equipment planning because a machine’s usefulness depends on educators being able to support its workflow. For programs connecting fabrication with connected manufacturing concepts, Industry 4.0 lab solutions offer relevant broader context.
Use these criteria to build a practical shortlist: what learners will make, which processes support it, and what the institution can operate and supervise effectively. Ednex tailors educational laboratory planning to institutional disciplines and learning goals. Explore educational lab design and implementation as part of developing a coordinated environment.
Plan the Digital Fabrication Workflow, Materials, and Safe Use
A reliable fabrication process depends on more than selecting a machine. Institutions need a clear path from the learning brief to the finished prototype, with materials, file preparation, supervision, and operating procedures aligned at each stage. Define this workflow during lab planning so learners and staff understand what happens before, during, and after production.
Create a repeatable path from project brief to finished prototype
Use a consistent sequence that can be adapted to different projects and machine types:
- Define the brief: Identify the learning objective, intended output, project constraints, and level of learner involvement.
- Develop the design: Select a digital design workflow suited to the task, then prepare a model or drawing that can be reviewed before production.
- Check the file: Confirm that the file suits the selected machine and process. Review dimensions, orientation, and other machine-specific setup requirements.
- Select materials and prepare the machine: Use only materials compatible with the machine and follow its operating guidance. Complete the required setup checks before production.
- Supervise, review, and document: Run the process with appropriate oversight, inspect the result against the brief, and record design changes or issues for the next iteration.
Keep a simple project record with the brief, design version, material, process, and review observations. Comparing iterations helps learners explain why they changed a design, even when a prototype needs further development.
Prepare the space and users for responsible equipment operation
Plan the room around the selected equipment and its workflow. Allow for appropriate access, circulation, material storage, and space for design preparation and finished work. Consider how learners move between project stages, where supervision is needed, and how staff can manage access during machine operation.
Training and procedures should reflect each machine’s requirements. Provide introductory instruction, define role-appropriate permissions, and make operating guidance accessible at the point of use. Staff readiness should include machine operation, file preparation, material handling, and routine workflow planning. Follow the manufacturer’s instructions and the institution’s relevant safety procedures. CNC equipment, laser systems, and 3D printers may require different controls. Material suitability matters too, since some materials can release hazardous fumes or create dust. Use the machine’s guidance to plan material restrictions, ventilation, and dust collection where appropriate.
For institutions across the UAE, review current requirements that apply to the facility and its equipment before finalizing procedures. Don’t assume one set of instructions fits every machine or learning environment. Ednex integrates workflow, equipment, and institutional learning goals into laboratory planning. Plan an educational lab with Ednex.
Build a Future-Ready Digital Fabrication Lab with Ednex
A future-ready lab is not a catalogue of machines assembled in one room. It is an educational environment designed around institutional goals, the people who will use it, and the projects they are expected to undertake. Ednex designs and implements educational laboratories across the UAE, including FAB Labs, Makerspaces, Design and Technology Labs, and Advanced Manufacturing Technology Labs. The work connects planning, configuration, and implementation into a coherent learning environment.
Connect equipment choices to the institution’s learning vision
Start with an institutional brief. Define the disciplines the lab will support, the learners it will serve, and how project complexity may develop. A K-12 environment may emphasize guided exploration and introductory design projects. Higher education may need workflows aligned with specific academic disciplines, while vocational training can focus on applied technical practice. These contexts point to different priorities for digital fabrication lab equipment, learning workflows, and room configuration.
Lab formats can also serve distinct but complementary purposes. A FAB Lab or Makerspace can provide a setting for broad project work and making. A Design and Technology Lab can align fabrication with design-focused learning. An Advanced Manufacturing Technology Lab can support a more specialized manufacturing context. Choose a concept based on the institution’s vision, not simply to adopt a label or add tools. Ednex tailors educational lab planning to institutional disciplines and learning goals.
Move from an equipment concept to an integrated lab
Turn the brief into a practical implementation pathway. Each stage should inform the next, so selected tools, software, workflows, and learning activities support one another rather than operate as disconnected elements.
- Set institutional goals: Clarify intended disciplines, learner groups, project types, and the role of hands-on fabrication in the curriculum.
- Shape the lab concept: Determine which lab environment and equipment categories align with those priorities.
- Plan the workflow and configuration: Coordinate design and file preparation with production steps, materials, supporting tools, layout, and safe operating practices.
- Implement the environment: Bring the planned laboratory together as a functional learning space, with its equipment and workflows connected to the institution’s objectives.
This integrated approach gives the institution a clearer basis for deciding how the lab will be used, how learners will progress, and how the space can support planned activities. It also gives stakeholders a shared reference for aligning educational priorities with the physical environment.
For institutions ready to translate a learning vision into a coordinated laboratory plan, explore Ednex’s educational lab solutions.
Turn Your Lab Vision into a Learning Environment
Turn your institution’s long-term learning vision into a practical plan. Identify which disciplines the lab should support, how learners will progress, and what kinds of projects they should be able to complete. These priorities can guide equipment choices and help shape a space that responds to educational needs.
Ednex brings educational laboratory design and implementation together, tailoring planning to institutional goals. Its work spans K-12, higher education, and vocational training, with lab environments including FAB Labs, Makerspaces, Design and Technology Labs, and Advanced Manufacturing Technology Labs. The aim is not simply to introduce new tools, but to create a purposeful setting where technology and learning objectives work together.
Explore Ednex’s educational lab solutions and take the next step toward a lab shaped around your institution’s vision.
Frequently Asked Questions
Is a 3D printer enough to create a digital fabrication lab?
A 3D printer can support meaningful introductory projects, but it doesn’t automatically make a complete fabrication lab. The right scope depends on what learners are expected to design, which materials and outputs the curriculum requires, and whether workflows include activities beyond printing. A single printer is a one-machine resource; a broader ecosystem may also include design and file-preparation tools, work surfaces, storage, and other processes selected for institutional goals. Not every school needs the same mix.
Can students use digital fabrication equipment without learning CAD?
Yes. Students can start with prepared files or simplified design tools, then gradually take on more of the design process. Creating original objects calls for suitable digital design and file-preparation skills, but learners don’t all need advanced software expertise before they begin making. For example, an instructor might provide a template for an early activity, then invite learners to adjust dimensions or features. Set the level according to age, curriculum, and equipment workflow.
What software is used with digital fabrication lab equipment?
The software depends on the machine and task. A project may involve tools for modelling or drawing, slicing a design, or preparing instructions for production. Consider the full path from the learner’s design to the machine’s accepted input, including how files are exported and transferred. A smooth workflow depends on compatible software, machine requirements, and user access. Don’t assume one application or file type will work across every tool in a lab.
What materials can digital fabrication equipment process?
Material options vary by machine, model, specifications, and manufacturer guidance. For planning, distinguish between materials supplied for printing, sheet materials considered for cutting, and stock used for machining, then verify suitability for the specific equipment. Match materials to the intended project, and consider how they’ll be procured, labelled, stored, and handled under institutional procedures. Don’t select a material based only on its general category or appearance; follow the machine’s instructions for approved use.
How often does digital fabrication equipment need maintenance?
There isn’t one schedule for every machine. Maintenance depends on equipment type and model, how frequently it’s used, and the manufacturer’s instructions. Build operational readiness into lab planning by assigning responsibility for routine checks, keeping a record of maintenance activity, and noting issues that may affect subsequent use. Staff can use the relevant machine guidance to identify required tasks and timing. This makes maintenance specific to the equipment instead of relying on a generic calendar.
How can a school make digital fabrication projects accessible to different skill levels?
Design projects with a clear progression: begin with instructor-led demonstrations or prepared files, then introduce guided edits, learner-designed prototypes, and more complex workflows as appropriate. Offer clear instructions for each task and define where supervision is needed. Equipment choices should reflect the range of learner experience, not only the most advanced project planned. This approach gives educators ways to vary the design challenge while keeping activities connected to the curriculum and available tools.
Related Posts ...
Comments are disabled