


Makerspace Design for Schools: A 2026 Planning Guide
What if the most important decision in makerspace design for schools isn’t which tools to buy, but what students should be able to learn and create? A well-equipped room can still sit underused if its tools don’t connect to lessons or if the layout makes safe, supervised work difficult. Start with learning goals, then shape the space around the students, projects, and teaching routines it needs to support.
For schools across the UAE, this means balancing creative freedom with practical decisions about activity zones, storage, accessibility, and safety. This guide offers a framework for turning educational priorities into a functional makerspace, from mapping hands-on and digital workflows to choosing tools for planned activities. It also outlines a phased approach, so the space can develop with your programs and improve through use. Ednex designs and implements makerspaces alongside STEAM programs and related educational environments, helping institutions connect the physical space with the learning it is intended to support.
Key Takeaways
- Start makerspace design for schools with the learning outcomes and student needs the space should support, not an equipment wish list.
- Use a step-by-step planning framework to turn educational priorities into practical choices about activities, layout, tools, and ongoing review.
- Organize zones around what students do, from designing and building to coding, sharing, and storing work.
- Plan safety, accessibility, supervision, and staff routines alongside the physical environment so the makerspace can support purposeful learning.
- Move from brief to design, equipment, staff preparation, and review in phases shaped by your institution’s priorities.
Makerspace Design for Schools Starts with Learning Goals
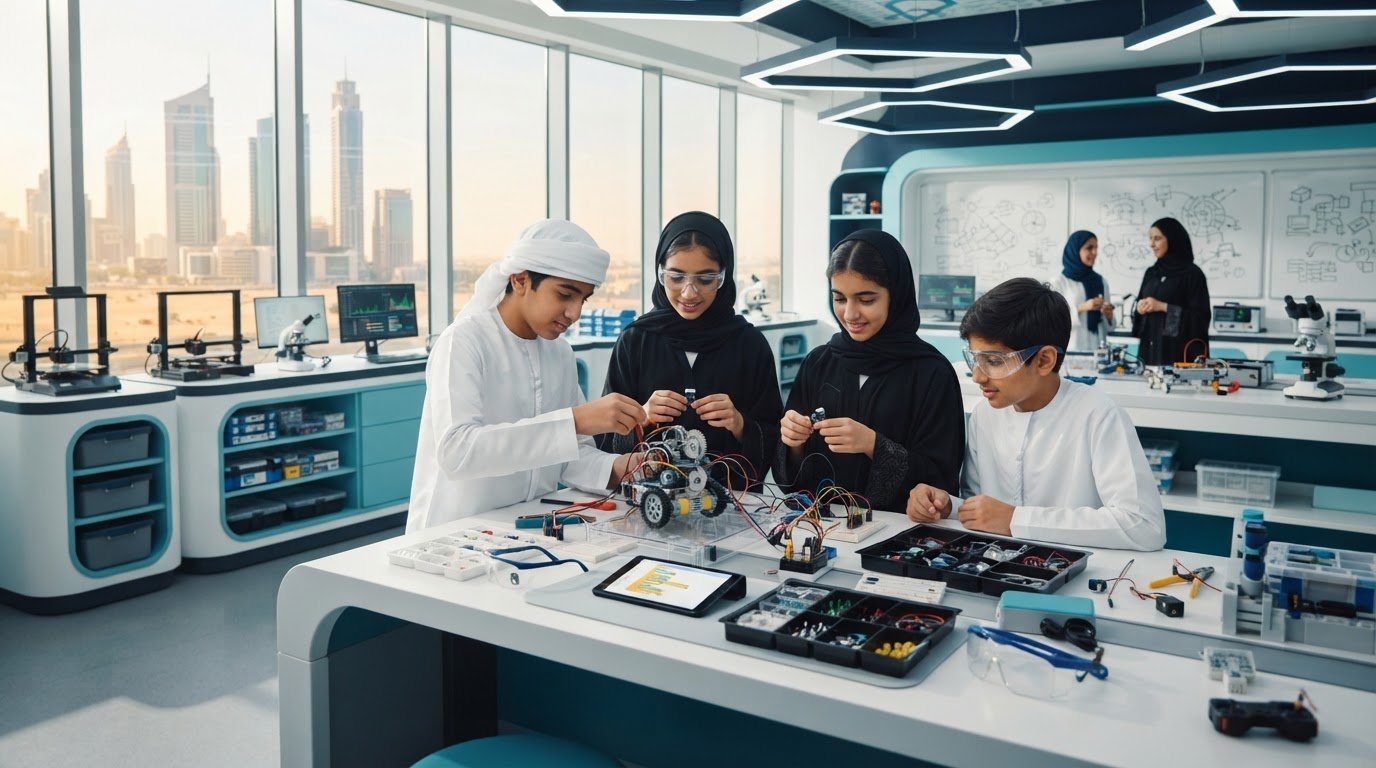
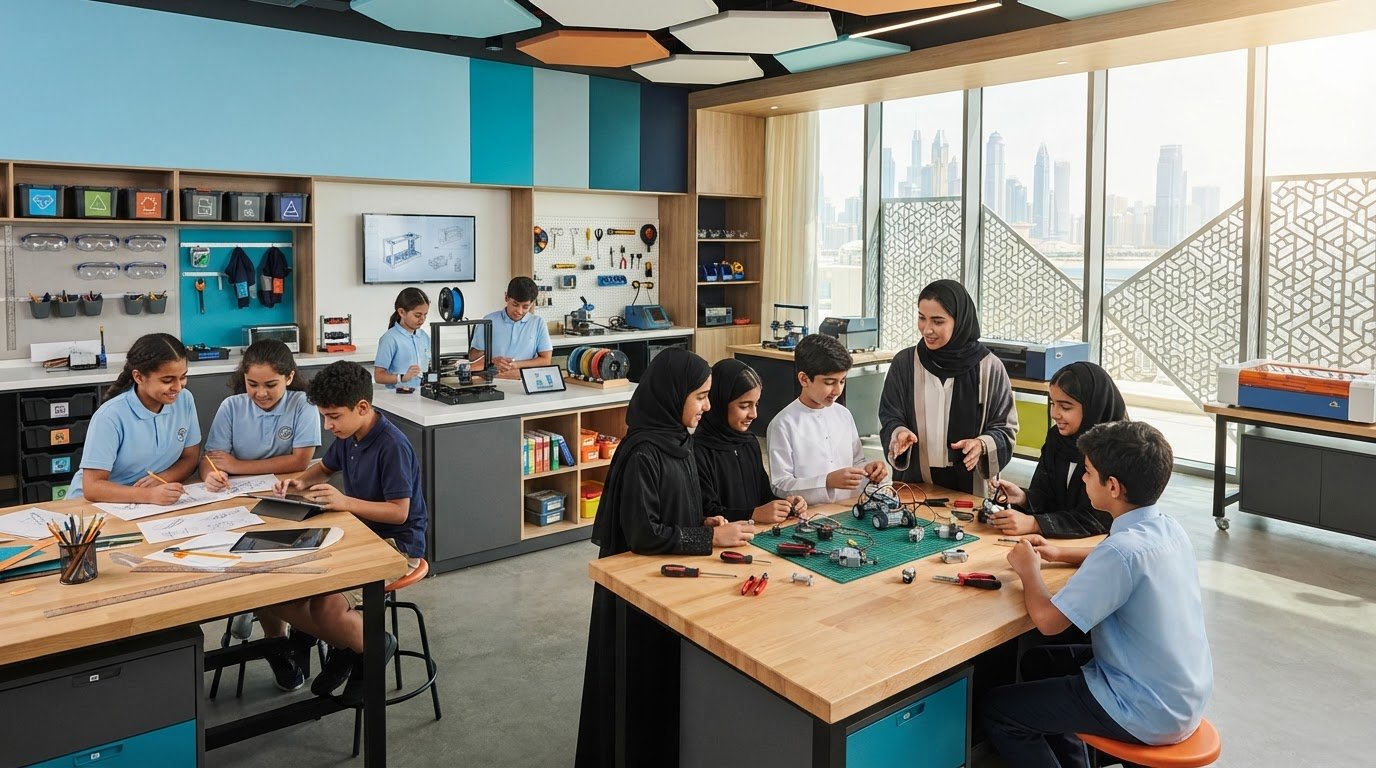
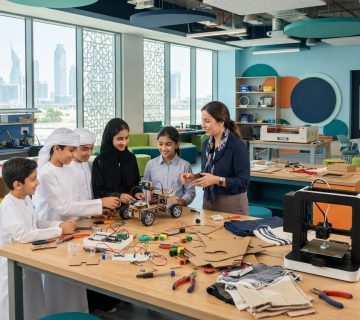
A school makerspace is a flexible learning environment where students design, make, test, and refine ideas. Its purpose isn’t simply to display technology or store craft supplies. It gives learners structured opportunities to apply knowledge, explore questions, and improve their work through iteration. For a foundational overview of what a makerspace is, consider how shared, hands-on environments support practical exploration.
“Makerspace design for schools connects student learning to a purposeful environment for creating, testing, and improving solutions to real problems.” Put educational outcomes ahead of room layout and tool selection. A purposeful space can support meaningful activities with simple materials or specialist equipment. The right resources depend on what students will do and what educators can support.
Which learning goals should guide a school makerspace?
Begin by identifying the capabilities students should develop, such as creativity, design thinking, collaboration, and applied problem-solving. Then translate broad STEAM ambitions into observable actions. Students might sketch and compare design ideas, build a model, test how well it works, and explain what they would change.
Map these activities to relevant subjects and projects. A science investigation could involve making and testing a prototype, while a mathematics task might ask students to measure, model, and refine a structure. Not every lesson needs specialist equipment. Paper, reusable materials, and discussion can support early-stage design and reasoning.
Who will use the space, and how?
Design for the learners and teaching routines the space must accommodate. Consider age ranges, typical group sizes, students’ previous experience, staff roles, and the supervision planned activities require. These factors influence how much room to allow for movement, demonstrations, collaborative work, and independent exploration.
A flexible environment should support several learning modes: individual idea development, small-team projects, teacher-led instruction, and opportunities to share completed work. Plan how staff will guide transitions and help students with different experience levels participate. Connect the makerspace to comprehensive STEAM programs for schools, so hands-on projects reinforce broader learning rather than operate as isolated events.
With outcomes and users clearly defined, school leaders can make design decisions with purpose. Treat each planned activity as a practical requirement for the environment. This makes it easier to prioritize what to include and how students and staff will use it.
How to Plan Makerspace Design for Schools Step by Step
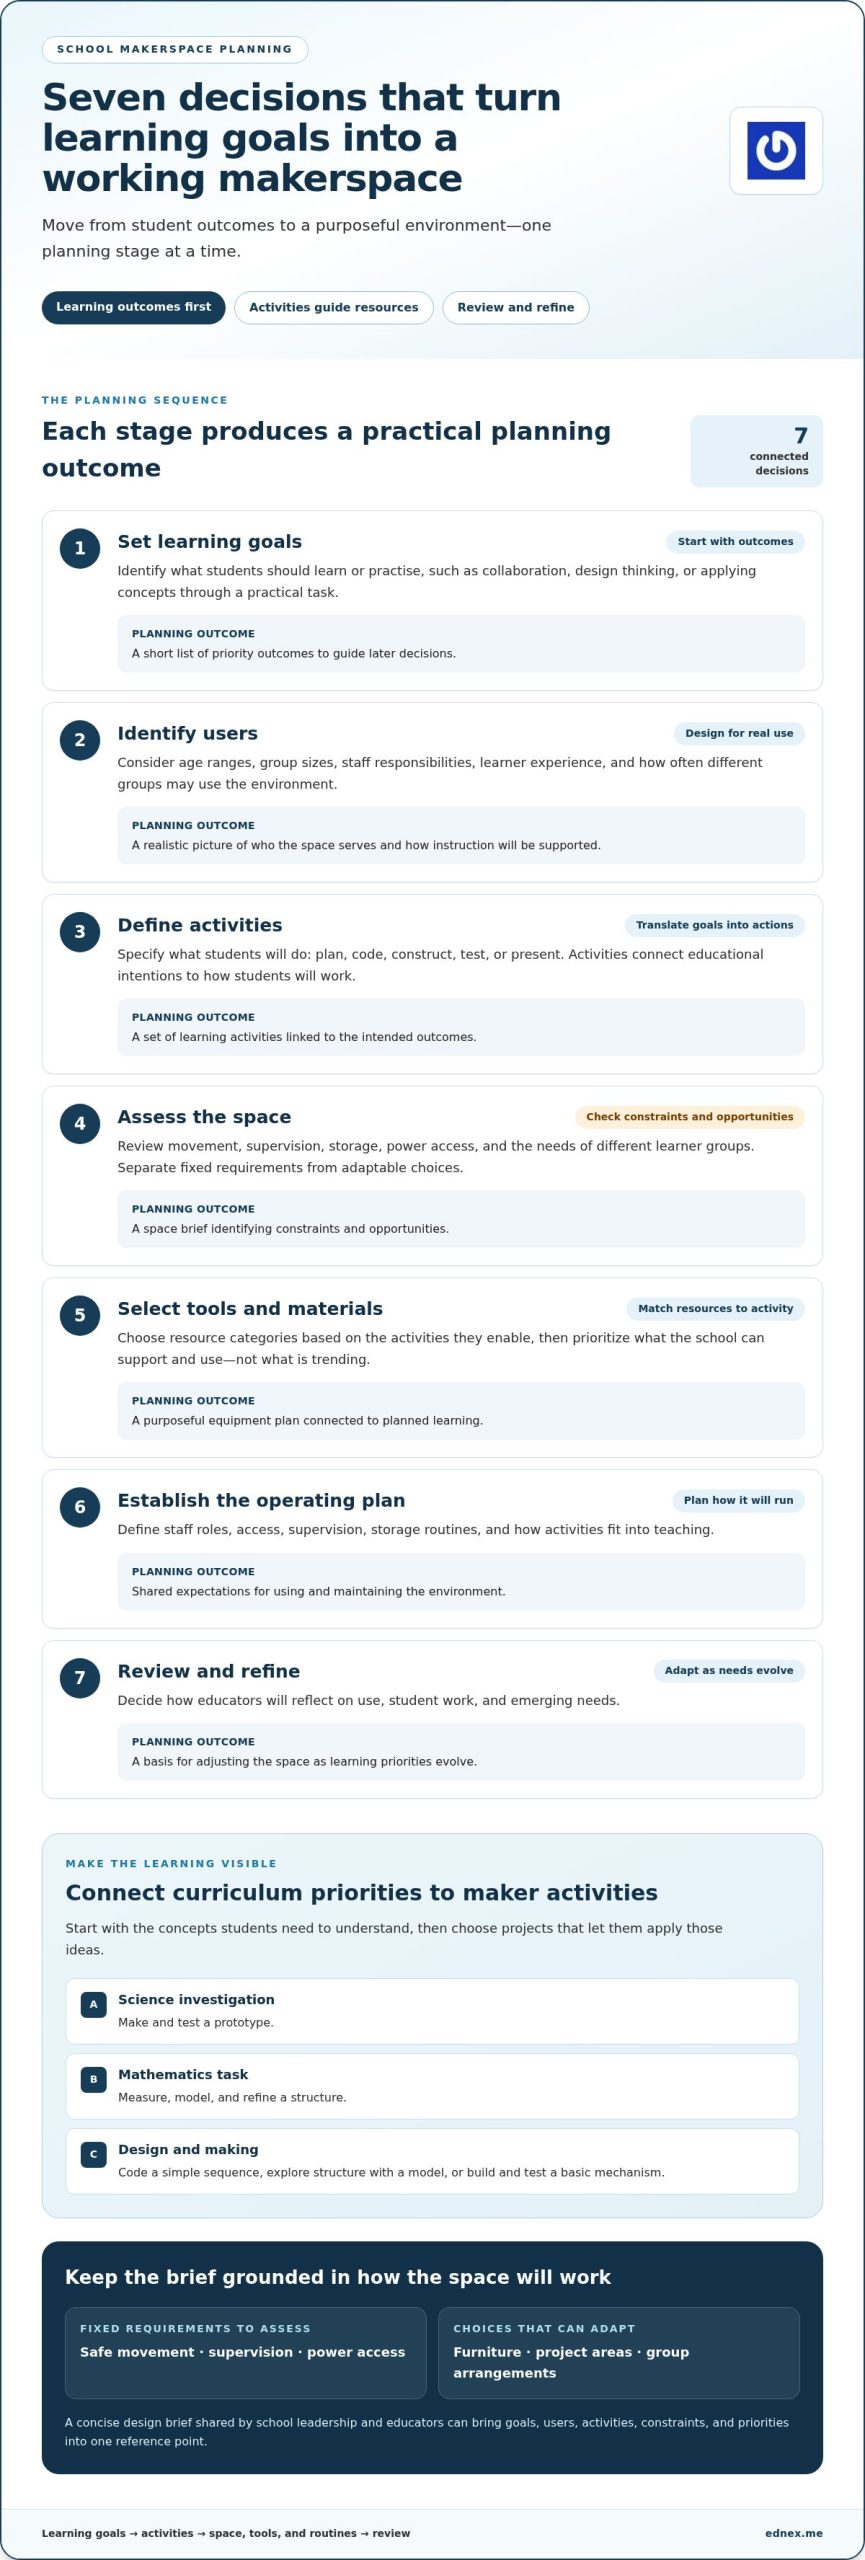
A clear process turns makerspace design for schools into a sequence of decisions, not an open-ended equipment wish list. Each stage should produce a planning outcome that informs the next. Available space, staffing, and institutional priorities then shape the design.
- 1. Set learning goals. Identify what students should learn or practise, such as collaboration, design thinking, or applying concepts through a practical task. Output: a short list of priority outcomes to guide later decisions.
- 2. Identify users. Consider age ranges, group sizes, staff responsibilities, learner experience, and how often different groups may use the environment. Output: a realistic picture of who the space needs to serve and how instruction will be supported.
- 3. Define activities. Translate goals into actions such as planning, coding, constructing, testing, or presenting. Output: a set of learning activities that connects educational intentions to how students will work.
- 4. Assess the space. Review movement, supervision, storage, power access, and the needs of different learner groups. Separate fixed requirements from adaptable choices, such as furniture or project areas that can change with teaching priorities. Output: a space brief that identifies constraints and opportunities.
- 5. Select tools and materials. Match resource categories to the activities they enable, then prioritize what the school can support and use. Output: a purposeful equipment plan, rather than a list driven by trends.
- 6. Establish the operating plan. Define staff roles, access, supervision, storage routines, and how activities fit into teaching. Output: shared expectations for using and maintaining the environment.
- 7. Review and refine. Decide how educators will reflect on use, student work, and emerging needs. Output: a basis for adjusting the space as learning priorities evolve.
Turn curriculum priorities into maker activities
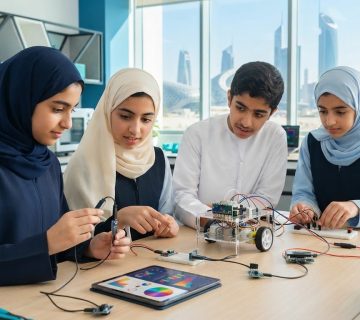
Start with the concepts students need to understand, then choose projects that let them apply those ideas. For example, students might code a simple sequence to solve a task, design a model to explore structure, or build and test a basic mechanism. Robotics, coding, design, and hands-on construction can each support a broader learning plan when educators connect the activity to a clear objective.
Assess space, access, and operational needs
Document practical requirements alongside adaptable design choices. Safe movement and access to power may constrain where activities happen, while movable work surfaces can allow different group arrangements. A concise design brief shared by school leadership and educators can capture goals, users, activities, constraints, and priorities in one reference point.
Schools developing that brief can also explore how Ednex connects learning programs with educational lab environments, aligning makerspace planning with STEAM, robotics and coding, and related learning environments.
Choose Makerspace Zones and Tools by Activity, Not Trend
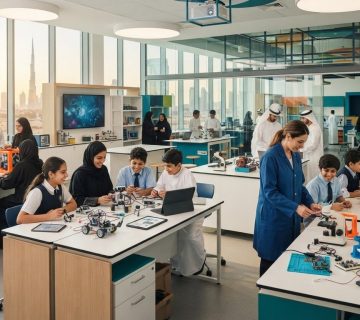
Once learning activities are clear, use them to determine which zones and tool categories the room needs. In effective makerspace design for schools, the layout supports a project’s flow: students develop an idea, create or code, test a solution, share their work, and return materials for the next group. Zones can be distinct or combined, depending on room size and intended use.
Which makerspace zones support different projects?
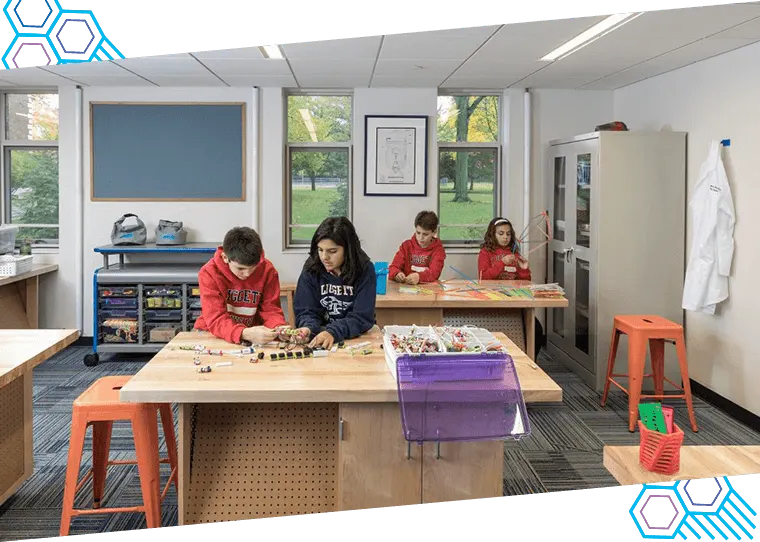
Plan flexible areas for ideation, construction, digital creation, presentation, and material storage. Clear transitions help learners move from one project stage to another, keep collaborative work organized, and make supervision more manageable. A smaller room might use shared worktables for planning and building, while a larger environment may separate quieter digital tasks from hands-on construction.
How should schools compare makerspace tools?
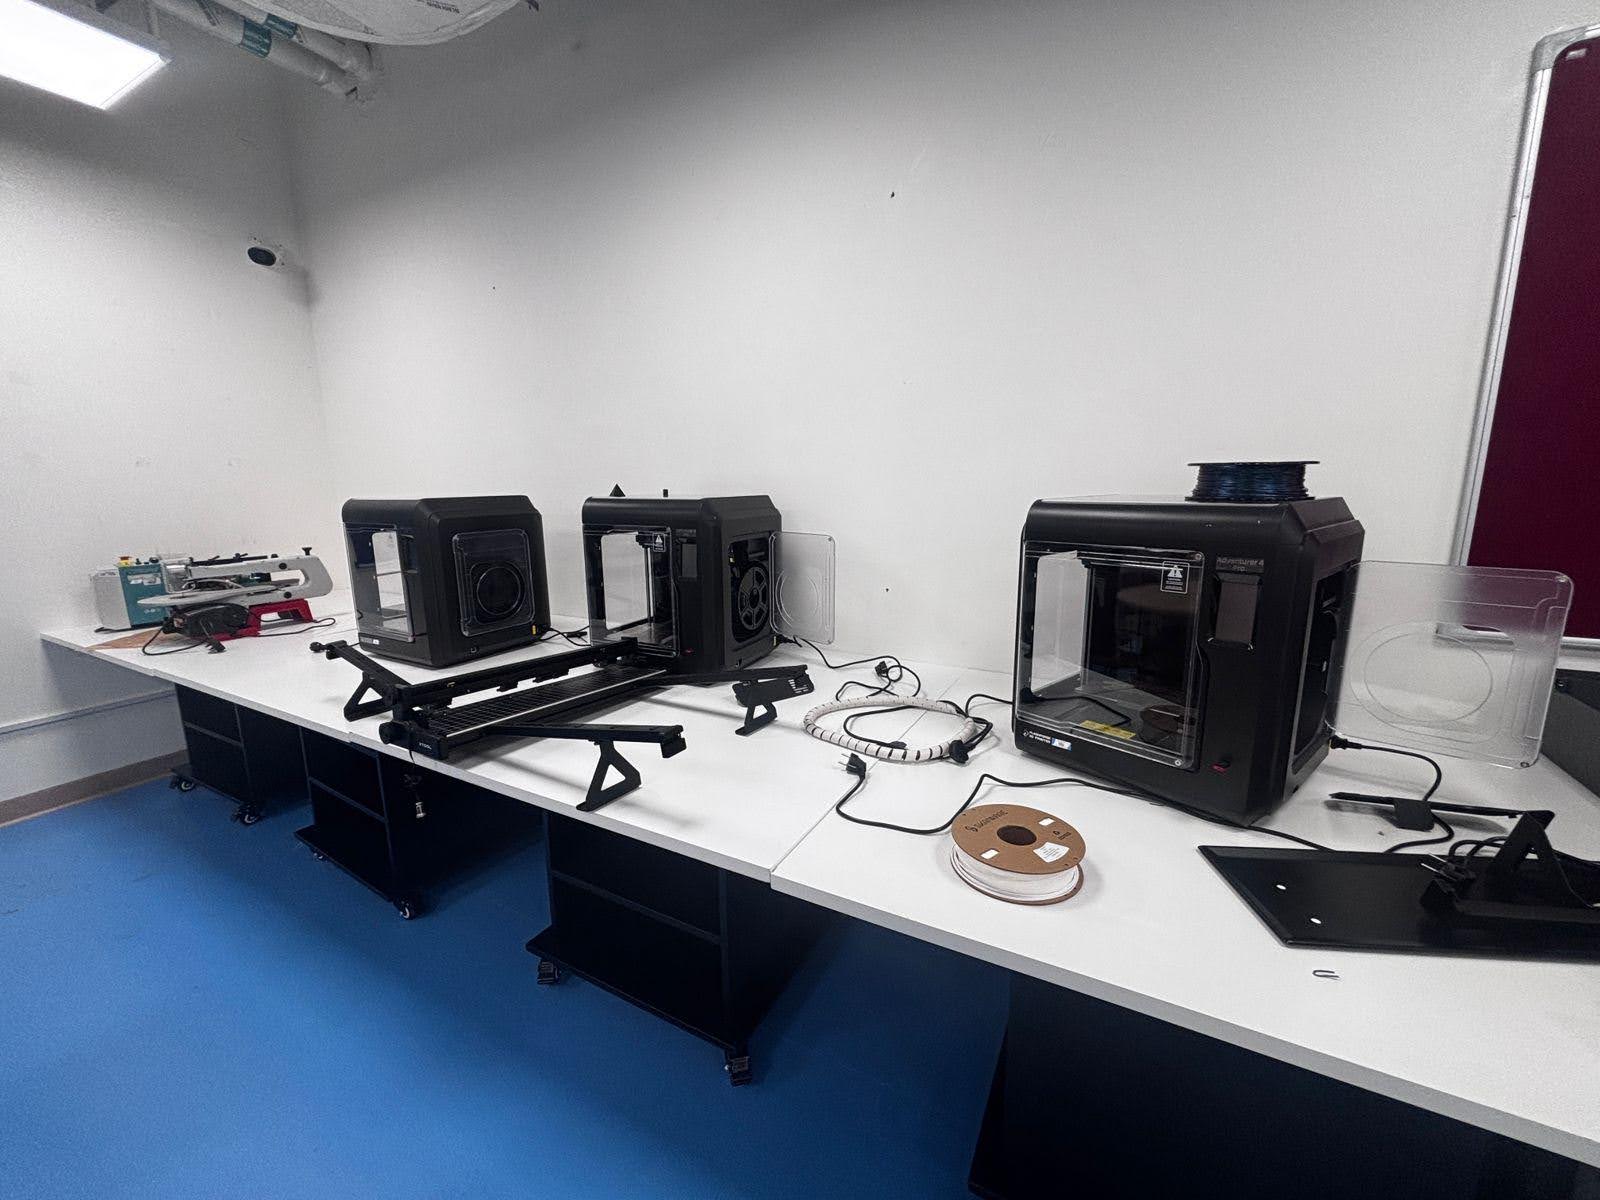
Evaluate each category against its relevance to learning, suitability for intended age groups, staff training needs, maintenance, and storage. Foundational resources such as reusable materials and hand tools can support a broad range of projects. Specialist technology, including robotics or digital fabrication tools, needs a clear instructional purpose and staff capacity to guide its use.
“Select tools only when they serve defined learning activities and the operating needs of the school.” This keeps equipment decisions connected to teaching, supervision, and day-to-day use, rather than trends alone.
| Activity | Possible tool category | Space consideration | Supervision consideration |
|---|---|---|---|
| Ideating and planning | Sketching and planning materials | Allow room for discussion and shared work | Support participation and guide planning |
| Building and prototyping | Construction materials and hand tools | Provide clear work surfaces and material access | Match guidance to learner experience and task |
| Coding and digital creation | Computing and coding resources | Consider power access and quieter working | Plan for instruction and technical support |
| Sharing and presenting | Display or presentation resources | Keep an area available for viewing and discussion | Facilitate feedback and orderly transitions |
| Storing work and materials | Organized storage solutions | Make materials accessible without obstructing movement | Establish routines for return and shared access |
These categories are a starting point, not a fixed specification. Adapt zones to available space and teaching priorities. Schools can also connect makerspace activity to wider engineering pathways through future science lab installation and engineering lab solutions, while keeping the environment appropriate to its learners and intended use.
Make School Makerspace Design Safe, Inclusive, and Sustainable
Equipment alone doesn’t make a makerspace a reliable learning environment. Students need teaching that connects tools to purposeful activities, while staff need clear routines for access, supervision, and upkeep. In makerspace design for schools, operational planning is part of the environment: it helps turn a well-designed space into one that can support learning consistently.
Build safety and supervision into the design
Plan sightlines so staff can oversee activities, define how students access and return tools, and organize storage appropriately for the materials in use. Establish a clear workflow, from instruction and preparation to making and resetting the work area. Before launch, school leadership should verify the safety standards, institutional policies, and applicable requirements relevant to the selected activities and equipment.
Prepare staff as well as the room. Induction can clarify supervision responsibilities and shared operating routines, while activity-specific instruction helps educators guide students in using tools appropriately. Match oversight to the task and learners’ experience.
- Access: Make tool availability and any limits clear to students.
- Instruction: Explain expected use before an activity begins.
- Storage: Label and organize materials so they can be returned consistently.
- Maintenance: Establish routines to check tools and report issues.
Design for inclusion and continued use
Consider how students with varied physical, sensory, and learning needs will move through the space and participate in activities. Clear circulation, reachable materials, flexible work areas, and options for quieter or collaborative work can help more learners engage. Plan these considerations alongside supervision and storage, rather than treating them as later additions.
Shared spaces stay useful when reset and maintenance are part of everyday practice. Clarify who returns materials, checks tools, and prepares work areas for the next activity. These routines support orderly transitions and help educators identify needs before they disrupt learning.
Review the environment periodically using educator feedback, student work, and observed patterns of use. If a zone is difficult to supervise or resources rarely support planned activities, adjust the routines or layout. Small, informed refinements can keep the space aligned with teaching priorities as they evolve.
Ednex supports schools in connecting makerspaces with educational programs and learning environments. Plan an integrated school makerspace with safety, inclusion, and ongoing use in view.
Bring Makerspace Design for Schools from Plan to Implementation
A practical implementation pathway turns planning decisions into a learning environment educators can use and refine. The sequence should reflect each institution’s priorities, available space, staffing, and project requirements. For makerspace design for schools, the goal isn’t to follow a fixed template. It’s to coordinate learning intent, physical design, resources, and staff readiness.
- Establish the brief. Document intended learners, educational priorities, planned activities, spatial constraints, and operational responsibilities.
- Develop the design. Translate the brief into a layout, activity zones, storage approach, and access plan suited to the school’s environment.
- Equip the space. Select tools and materials that support the planned activities and can be managed within the school’s operating model.
- Prepare staff. Align educators on learning use, supervision, tool instruction, and routines for shared resources.
- Review use. Gather feedback and observe how the space supports teaching, then refine its layout, resources, or routines as needs evolve.
These phases can overlap or be adjusted to fit the project. A school with established teaching routines may focus early on layout and integration, while another may need to clarify staff roles before selecting specialist resources. Keep the brief as a shared reference point so changes remain connected to the institution’s intended outcomes.
What should a school include in its makerspace design brief?
Record who will use the environment, which learning priorities it serves, and what students and educators will do there. Include space constraints, desired flexibility, storage needs, staff preparation, and the responsibilities required for daily operation. Define how the school will review success, using educator feedback, student work, and observed use. If robotics is a core requirement, note how it fits within the wider environment and whether adjacent planning, such as a robotics lab setup UAE, is relevant to the institution’s needs.
How can Ednex support an integrated makerspace project?
Ednex designs and implements educational learning environments, connecting makerspace planning with related STEAM programs, robotics and coding for schools, and FAB Lab setup for schools UAE offerings. This integrated approach helps schools align the environment with teaching and operational priorities, rather than treating room design and learning programs as separate decisions.
Bring your goals, constraints, and ideas into the planning conversation. Discuss your school’s makerspace vision with Ednex and explore a learning environment shaped around your institution’s priorities.
Turn Your Makerspace Vision into a Learning Environment
Strong makerspace design for schools begins with the learning students should experience, then translates those goals into purposeful activities, flexible zones, and tools that fit the school’s needs. A strong plan also accounts for accessibility, safety, staff routines, and ongoing review, so the space can support meaningful learning beyond its launch.
Implementation works best as a coordinated pathway: establish the brief, develop the design, equip the environment, prepare staff, and refine the space through use. The sequence and scope should reflect each institution’s priorities. Keep learning at the centre, and let operational decisions support it.
Ednex designs and implements educational laboratory environments, with offerings that include makerspaces, FAB Labs, STEAM programs, and robotics and coding for schools. This connected approach helps institutions move from an initial vision toward a functional learning environment shaped around their students and educators.
Discuss your school’s makerspace vision with Ednex and take the next step toward a space where students can explore ideas, build confidence, and bring learning to life.
Frequently Asked Questions
What is makerspace design for schools?
Makerspace design for schools is the planning of a learning environment where students can design, build, test, and improve ideas. The process begins with educational goals and the activities students will undertake, then shapes the layout, tools, storage, supervision, and teaching routines around them. This creates a purposeful space for hands-on learning, rather than a room defined only by its equipment.
How do you design a makerspace for a school?
Start by identifying the learners and outcomes the space should support. Map those goals to projects and activities, assess the available room and operational needs, then plan suitable zones and tool categories. Include storage, staff preparation, supervision, and activity-specific safety procedures before use. After launch, gather feedback from educators and students and observe how the environment works in practice. Use those insights to refine the space over time.
What should a school makerspace include?
A school makerspace should include the zones, tools, and routines needed for its intended learning activities, rather than follow a universal equipment list. Depending on the plan, it may support designing, building, digital creation, collaboration, presenting work, and storing materials. Consider each resource in light of learner needs, staff training, supervision, maintenance, and available space. This helps schools create a flexible environment that supports curriculum priorities and purposeful making.
How much space does a school makerspace need?
There’s no single room size that suits every school. Space needs depend on the learners, activities, equipment categories, storage, movement, and supervision the environment must accommodate. A smaller room may combine planning, building, and presentation in shared areas, while a larger space may separate activities into zones. Begin with a realistic assessment of the available room, then organize it around clear workflows and the school’s operational needs.
How can schools make a makerspace safe for students?
Plan safety around the activities, tools, learner ages, and supervision arrangements in the space. Establish clear work areas, orderly storage, activity-specific instruction, and routines for tool access and resetting materials. Staff should understand their responsibilities before activities begin. Schools should also verify applicable institutional policies and safety requirements for the selected tools and activities. A generic checklist can support planning, but it shouldn’t replace requirements specific to the school.
How can a school keep its makerspace in regular use?
Connect makerspace activities to planned learning and make the environment practical for educators to prepare, supervise, and reset. Prepare staff, organize materials clearly, and establish routines for access, booking, and maintenance that fit the school’s operations. Ask teachers and students about their experience, and review which activities support learning effectively. Regularly use that feedback to adjust resources, teaching routines, or the layout and keep the space relevant as needs evolve.
Should a school choose a makerspace or a FAB Lab?
Choose based on the learning goals, projects, and operational capacity the institution intends to support. A makerspace can accommodate a broad range of hands-on creation and problem-solving activities, while a FAB Lab generally focuses on digital fabrication. The distinction needn’t dictate a one-size-fits-all choice. Assess intended users, staff capacity, space, and operating needs to determine whether a broad makerspace, a more specialised environment, or a combination best fits the school’s plans.
Related Posts ...
Comments are disabled