


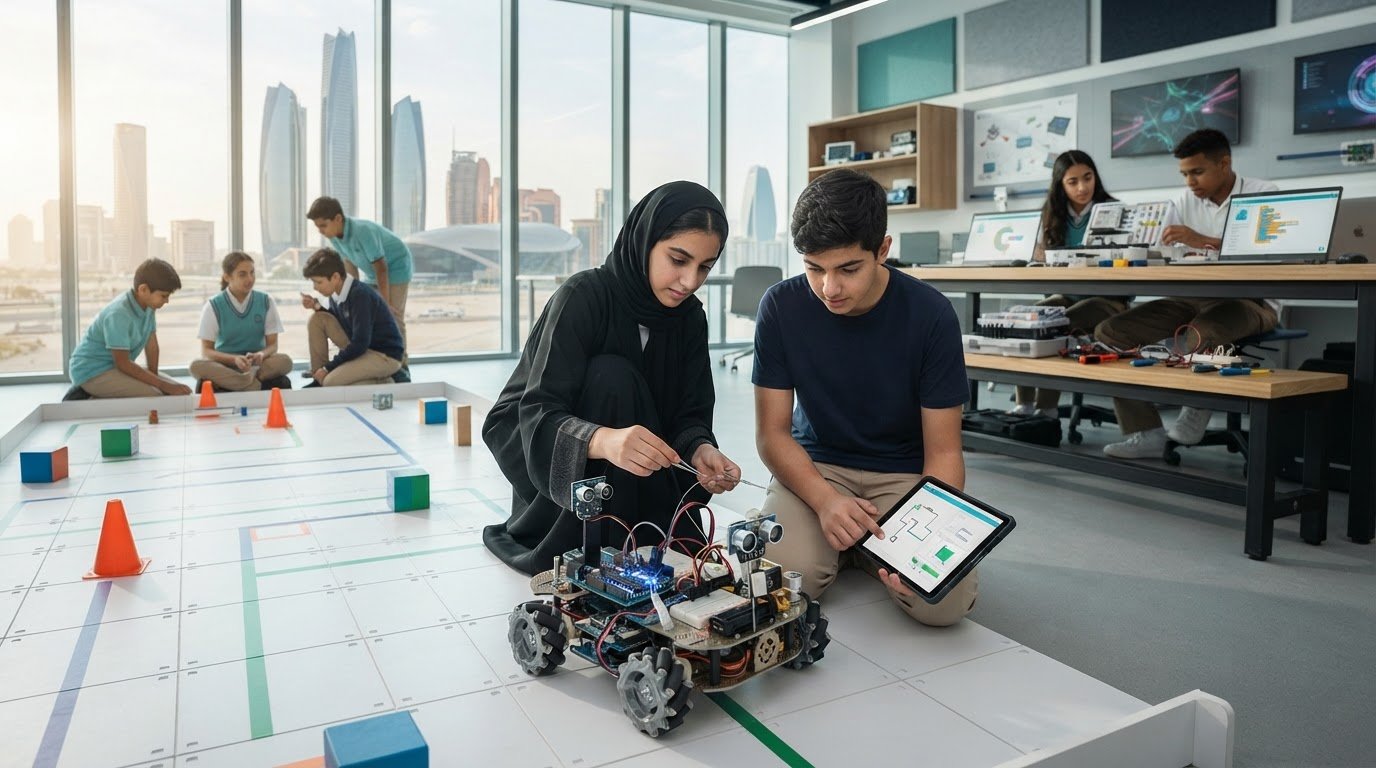
Autonomous Vehicle Kits for Education: Learning Through Real-World Examples
What if students could watch code, sensors and engineering decisions come together in a vehicle they program themselves? Autonomous vehicle kits for education make abstract ideas tangible: learners can see how a machine senses its surroundings, makes a decision and responds. To turn that demonstration into lasting learning, educators need a clear progression from first experiments to projects that match students’ skills and objectives.
A practical sequence starts with simple movement and sensing, then builds towards obstacle response, navigation and introductory AI concepts. At each stage, students have a specific problem to solve and a result to test. They can connect robotics, coding, electronics and engineering by changing a rule, predicting what will happen and comparing the result with their prediction. This article explores what students can learn, offers project examples for different stages, and explains how vehicle activities can connect with wider technical education. It also considers how autonomous vehicle solutions for land and aerial applications can fit into an integrated learning ecosystem supported by robotics programs and educational laboratory design.
Key Takeaways
- Use autonomous vehicle kits for education to make sensing, control and decision-making visible through practical learning.
- Teach how sensors, computing, software and movement work together, while checking the actual capabilities of the learning platform in use.
- Choose projects with clear objectives and observable evidence of student understanding.
- Plan a progression that accounts for students’ experience, lesson time and classroom support.
- Connect vehicle projects with wider robotics, AI and engineering pathways to build a coherent technical education program.
What Can Students Learn with Autonomous Vehicle Kits for Education?
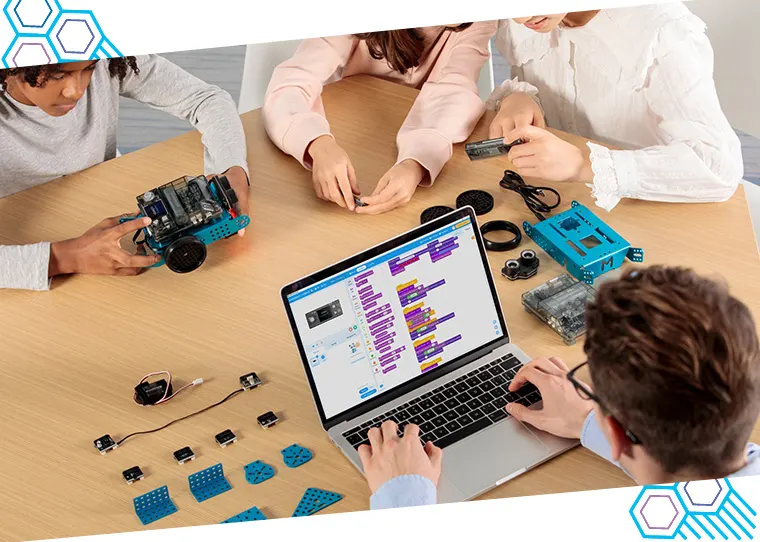
An educational autonomous vehicle kit gives learners a practical way to explore how sensing, control and decision-making work together. Instead of seeing code only as instructions on a screen, students can observe its effect on movement. A programmed response might change direction, adjust speed or stop when a condition is met. Students can then compare the vehicle’s behaviour with the code and identify what to change.
Learning can progress through three modes. In a guided demonstration, the educator makes a behaviour visible and asks students to predict what will happen. In a defined project, learners program or assemble a solution, test it and revise it. In an open-ended investigation, they choose an approach, such as comparing ways to navigate a marked route, and explain which best meets their criteria. Choose the mode according to learners’ experience and the objective of the lesson.
How is an autonomous vehicle different from a remote-controlled vehicle?
An autonomous vehicle uses sensor input and programmed decisions to act; a remote-controlled vehicle acts on commands sent by a human operator. Students can compare a person steering a vehicle with one programmed to respond to a detected obstacle. Autonomy can be partial and limited to a particular task, with other decisions still made by a person. For an overview of the wider field, explore Self-driving car technology and history.
Which subjects can one vehicle project bring together?
A vehicle challenge can link robotics, programming, mathematics and engineering. Students can trace an input, such as a sensor reading, through the software to an output, such as a change in movement. To investigate cause and effect, ask them to change one rule at a time, predict the result and compare it with what happens. If the system uses feedback, learners can also examine how repeated sensing and adjustment affect its behaviour.
- Robotics: Explore how a machine responds to its environment.
- Programming: Build and revise instructions that govern behaviour.
- Mathematics: Use measurements, distance, timing or angles to reason about results.
- Engineering: Test a design against a defined task and improve it based on evidence.
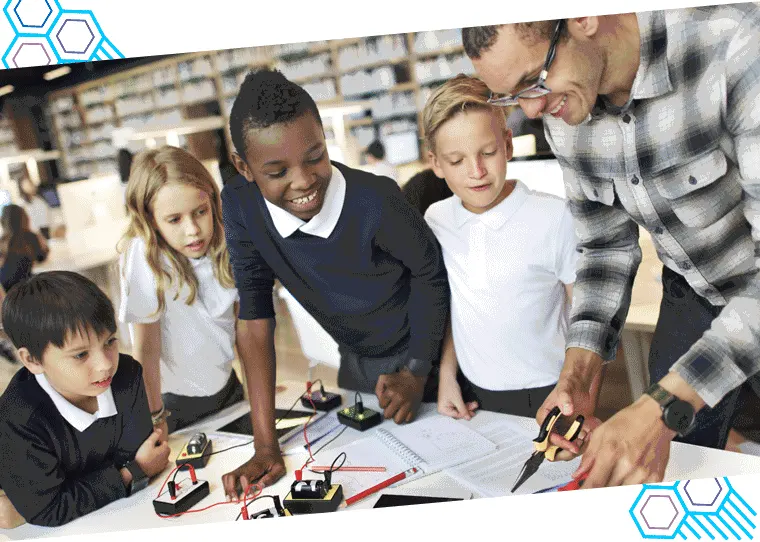
These connections are central to STEAM programs for schools, where practical challenges can bring technical knowledge together with observation, creativity and reflection. Autonomous vehicle kits for education can be more than a one-time demonstration. They provide a route from guided exploration to student-led investigation, with learning made visible through decisions, tests and results.
How Do Educational Autonomous Vehicle Kits Work?
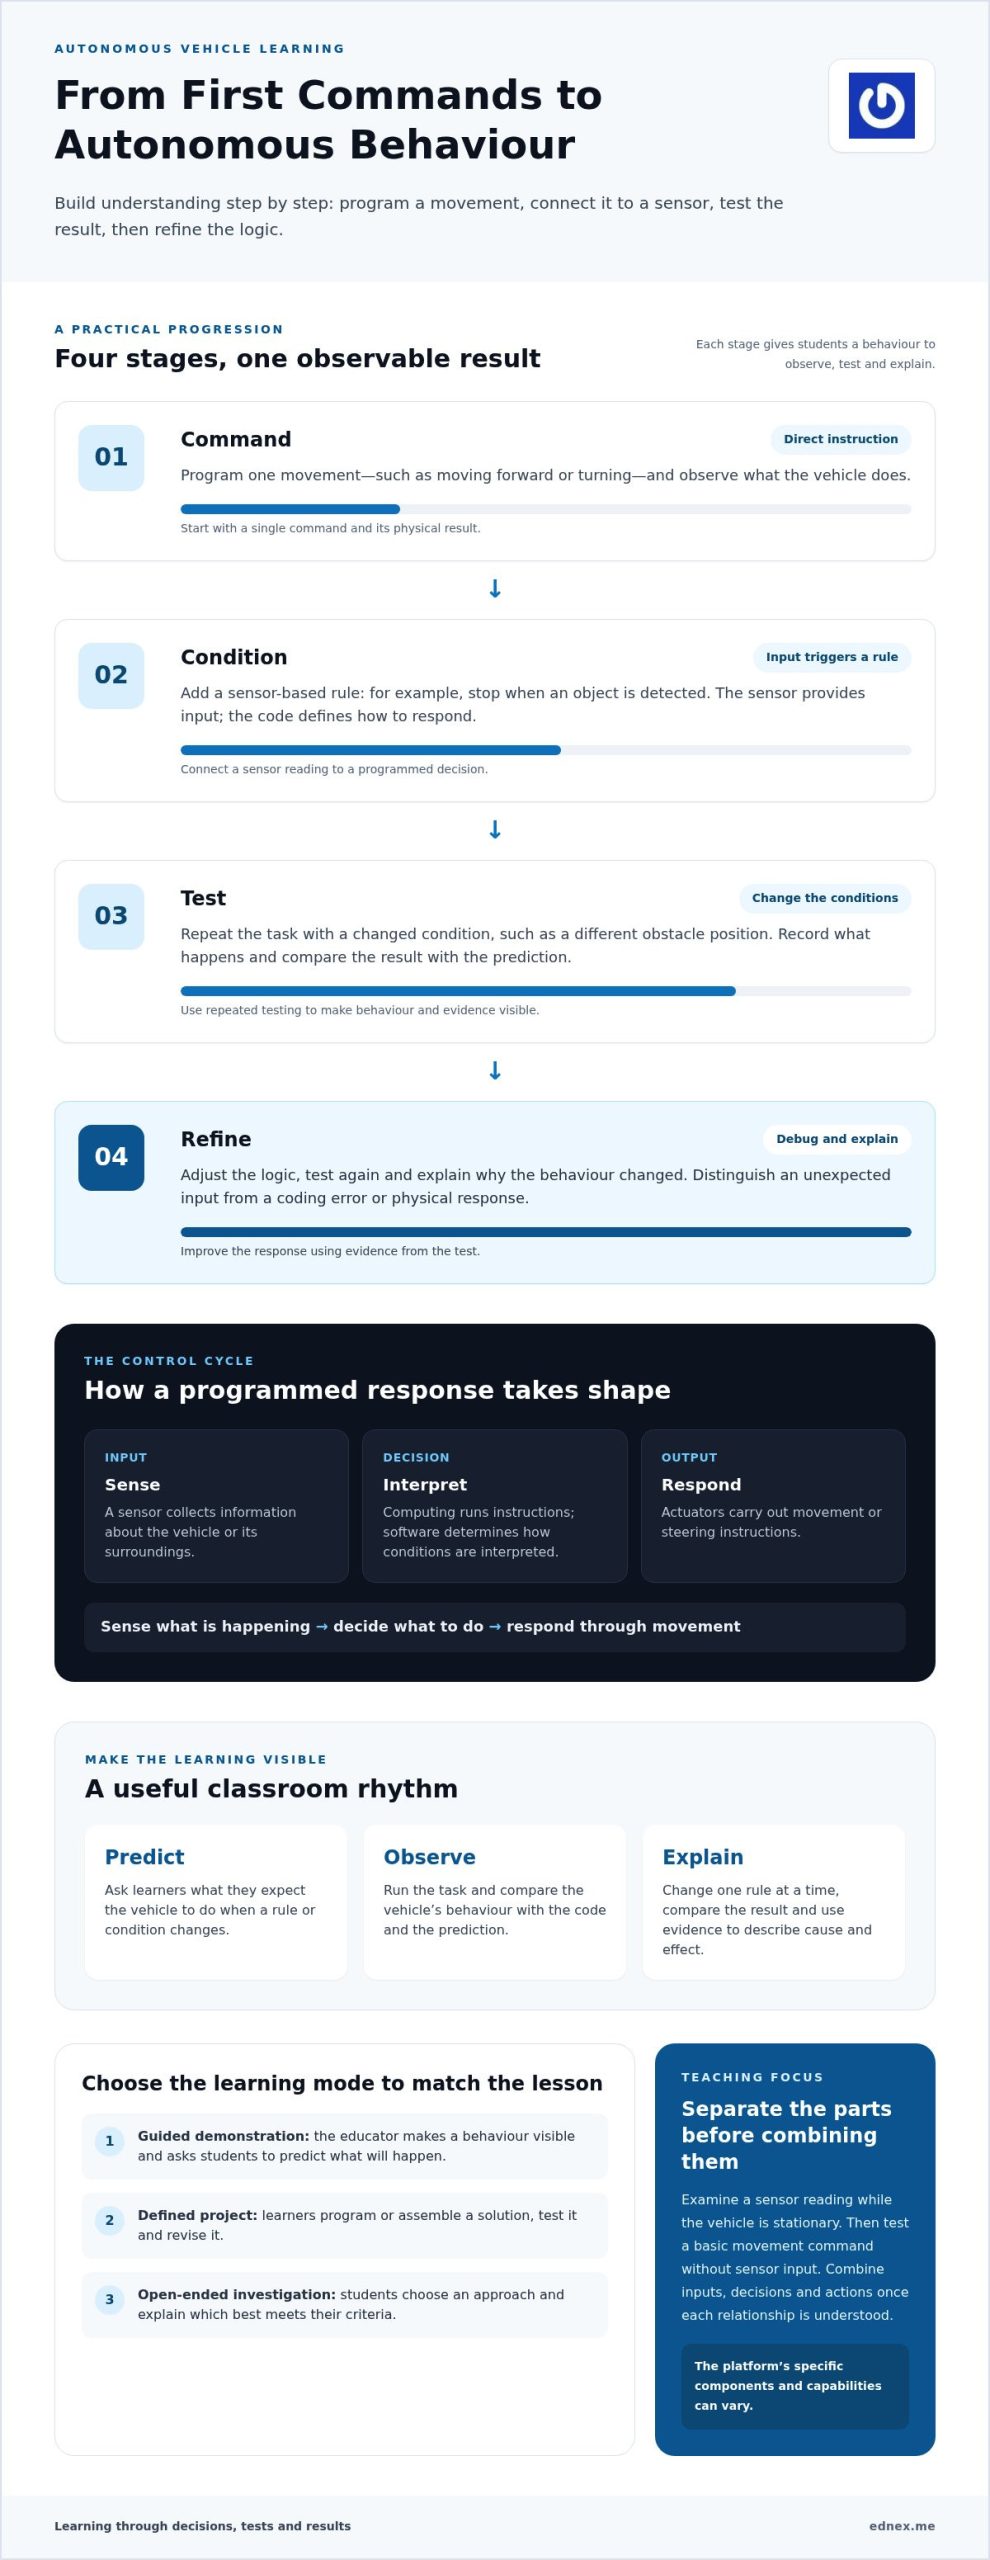
An educational vehicle follows a control cycle: it senses conditions, interprets information, selects a programmed response and acts. In plain language, an autonomous vehicle senses what is happening, decides what to do, and responds through movement. Students can use this cycle to trace how software and physical components interact, rather than treating a program as a set of disconnected instructions.
These systems can be understood through several component categories. The specific components and capabilities depend on the learning platform, but the categories help explain how the system works:
- Sensors collect information about the vehicle or its surroundings.
- Computing processes those inputs and runs instructions.
- Software defines how the system interprets conditions and selects responses.
- Actuators carry out movement or steering instructions.
- The chassis supports the vehicle’s physical structure and movement.
Make the system easier to understand by isolating one function at a time. Students might examine a sensor reading while the vehicle is stationary, then test a basic movement command without sensor input. After they understand each relationship separately, combine inputs, decisions and actions in one task. This sequence also helps students locate the source of unexpected behaviour: the input, the code or the physical response.
What roles do sensors, software, and actuators play?
Consider a simple obstacle response. A sensor detects an object, software compares the input with a programmed condition, and the vehicle stops or changes direction. The sensor does not make the decision; the code defines how to interpret its reading. Actuators translate the resulting instruction into physical movement. Educators can focus on these functions and tailor examples to the components used in the learning activity.
How do students progress from coding to autonomous behaviour?
Students can begin with direct commands, such as moving forward or turning, then add a rule that triggers an action from sensor input. During testing, they can distinguish a coding error from an unexpected input or physical response. Changing a condition, such as the position of an obstacle, gives them a way to debug systematically and refine the behaviour.
- Command: Program a single movement and observe the result.
- Condition: Add a sensor-based rule, such as stopping when an object is detected.
- Test: Repeat the task under changed conditions and record what happens.
- Refine: Adjust the logic, test again, and explain why the result changed.
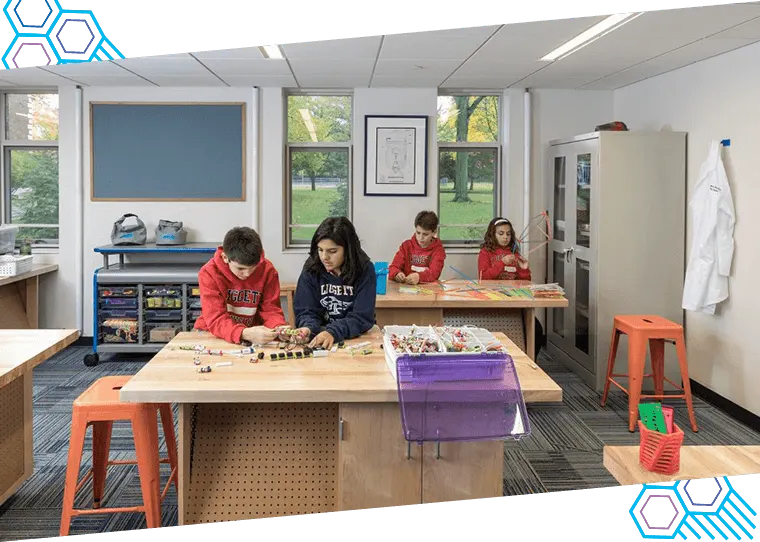
As projects become more complex, a robotics lab setup can connect vehicle work with wider robotics and technical learning. Ednex designs and equips educational laboratories, including solutions for autonomous vehicles for land and aerial applications. Explore Ednex’s educational technology work as part of a broader learning ecosystem.
What Classroom Projects Show the Value of Autonomous Vehicle Kits?
Project work makes learning visible when students connect a goal to an action, observe the result and explain what they would change. The examples below are adaptable learning designs. Educators can align each challenge with the platform, students’ experience and the intended outcome.
| Project stage | Learning objective | Student activity | Evidence of learning |
|---|---|---|---|
| Introductory: obstacle response | Understand how an input can trigger a programmed response. | Predict how changing a decision rule may affect a vehicle’s response to an obstacle, then test the prediction. | A clear explanation linking the input, rule and observed outcome. |
| Intermediate: route challenge | Explore how instructions shape navigation through a defined route. | Plan a route, test the vehicle’s behaviour and revise instructions when it deviates from the intended path. | Test notes that identify a change and explain its effect. |
| Integrated: changing environment | Investigate how environmental variation affects system decisions. | Modify a route or obstacle arrangement, then compare how the system responds across trials. | A reasoned comparison of results, revisions and remaining limitations. |
What are approachable introductory project examples?
A guided obstacle-response task gives beginners a focused way to investigate cause and effect. Ask students to predict what will happen if they change one rule, then compare their prediction with the vehicle’s behaviour. Assess whether they can explain the link between input and outcome, rather than how quickly the vehicle finishes or who “wins.”
For autonomous vehicle kits for education, a useful project record can be simple and structured. Ask learners to write down a prediction before testing, record what happened, describe the revision they made and reflect on whether the evidence supports their explanation. This makes debugging part of the learning process and helps students treat an unexpected result as information to investigate.
How can advanced projects connect autonomy with real systems?
With more experience, students can investigate route planning, navigation challenges or coordinated system behaviour. For example, they can change an environmental condition, observe how the vehicle’s decisions differ and explain which design assumptions were affected. Keep the emphasis on evidence and analysis, not unsupported claims about real-world performance.
These investigations can bridge programming with mathematics, design, testing and engineering. Students might compare routes, define criteria for a successful outcome or discuss how a system should respond when conditions change. This cross-disciplinary work can sit within a broader technical environment, including futuristic engineering lab solutions.
Documentation gives educators a clearer view of student understanding than a final run alone. Ask learners to record four things: what they expected, what they observed, what they revised and what they concluded. Reviewing these records across projects helps students see how evidence can guide design decisions.
How Can Educators Plan an Effective Autonomous Vehicle Learning Sequence?
A well-designed sequence gives each activity a clear purpose and a visible next step. Start with one learning objective, then choose a challenge that fits the available time, student experience and classroom support. With autonomous vehicle kits for education, progression matters: learners benefit from building confidence with foundational concepts before tackling several interacting systems.
- Set one primary objective. Focus on a concept such as sensing, coding logic or feedback. A focused objective keeps the task manageable and makes student understanding easier to assess.
- Define evidence of learning. Decide what students will produce or explain, such as a labelled process diagram, a test record or a reasoned prediction. Look for evidence of thinking, not just a vehicle completing a task.
- Match the challenge to the class. Consider prior experience, time for instruction and testing, and the support educators can provide. A short session may suit a guided task, while an extended project allows more independent design choices.
- Prepare a controlled test area. Set a clear boundary, keep the route free of unrelated activity, and establish procedures for starting, stopping and retrieving the vehicle. Explain expectations before testing begins, and pause the activity if the area or conditions change.
- Build in testing and revision. Have students compare results with their predictions, identify what may have influenced the outcome and make a deliberate change. Where practical, change one factor at a time so they can reason about its effect.
- Close with reflection and a next challenge. Ask learners to connect their results to the objective, then identify a new question or design decision to explore. Use their explanations and test records to choose an appropriate next step.
How should educators connect projects to learning objectives?
Make the objective clear to students before they begin. If the focus is sensing, ask them to explain how an input affects a response. If it is coding logic, have them describe the rule behind a behaviour. Close with a question such as, “What did your test show about the concept we set out to investigate?” This connects practical results to the underlying idea.
How can projects grow from a first activity into a pathway?
Begin with guided tasks, then gradually invite students to choose a question, select a design approach and justify revisions. Add interacting systems once learners can explain the foundational ideas they depend on. Vehicle work can then connect with wider technical learning and a future science lab installation, where equipment and activities support a broader educational pathway.
Institutions developing connected technical learning can explore Ednex’s educational laboratory solutions to align projects, equipment and learner progression.
How Can Autonomous Vehicle Kits Contribute to an Education Ecosystem?
A vehicle project can be an entry point into a wider technical learning pathway. Students may begin by exploring how a vehicle responds to its surroundings, then build on that knowledge through robotics, coding, AI and engineering activities. The value grows when educators connect these experiences instead of treating each project as a standalone demonstration. Learners can revisit related ideas in greater depth as their knowledge and confidence develop.
Institutions can align four elements: equipment, learner progression, teaching activities and future technical pathways. Equipment should support the intended learning, and activities should give students a purposeful way to use it. A planned progression can take learners from structured exploration to more independent design and investigation. Links to wider areas of study help students see how their practice relates to further technical learning.
When does a vehicle project benefit from a wider laboratory context?
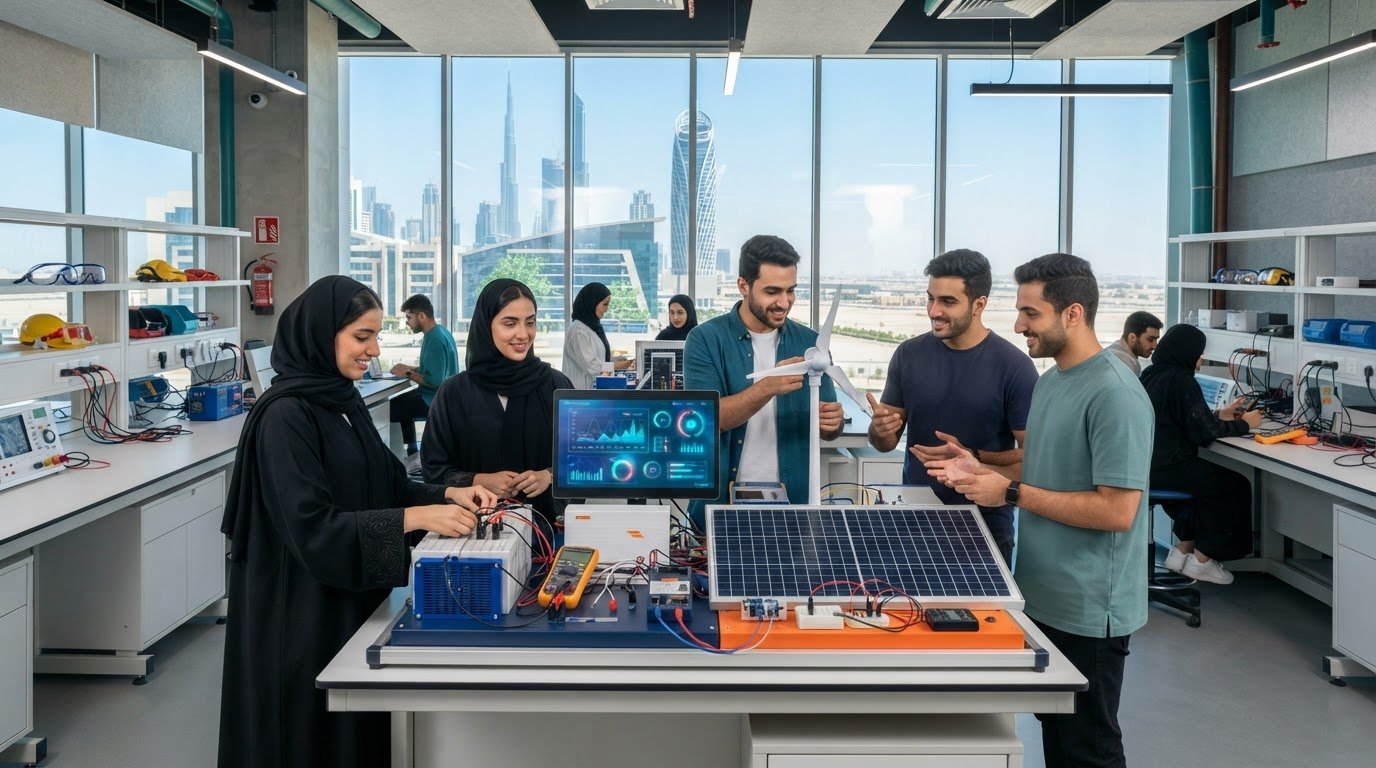
A wider laboratory context is useful when educators want students to connect vehicle behaviour with other systems and disciplines. Robotics activities can develop understanding of movement and control; engineering projects can extend that thinking through design, testing and improvement. Shared themes, such as sensing or decision-making, can be adapted for different learner groups, with the challenge adjusted as learners advance. This supports continuity without requiring every group to complete the same task.
For example, one group might investigate a defined vehicle challenge, while a more experienced group explores how changed conditions affect system behaviour. A shared theme links the activities, while each group works at an appropriate depth. Autonomous vehicle kits for education can contribute to a connected program alongside technical laboratory design and equipment, rather than sitting outside the institution’s wider learning strategy.
How can institutions take the next step toward applied autonomy learning?
Begin with the intended learners and outcomes. Identify which groups will take part, which concepts they should explore and how far projects should progress from guided activities to open-ended investigation. Then consider how teaching activities and laboratory equipment can support that pathway. This planning helps institutions make purposeful decisions based on learning priorities.
Ednex designs and equips educational laboratories, including solutions for autonomous vehicles for land and aerial applications, as well as STEAM, robotics and technical learning programs. Its work connects learning environments and equipment with the goals institutions set for student progression. The result is a considered foundation for applied autonomy learning, shaped around educational priorities rather than assumptions about a single kit.
For institutions developing this pathway, explore Ednex’s educational laboratory solutions and consider how vehicle learning can connect with broader robotics and engineering education.
Turn Practical Learning into Future-Ready Capability
Shape a learning pathway that can grow with students, starting with purposeful exploration and creating room for deeper investigation, collaboration and technical ambition. Autonomous vehicle kits for education can support that progress when institutions connect hands-on projects with broader learning priorities.
Ednex brings educational laboratory design and equipment together with autonomous vehicle solutions for land and aerial applications. These can support institutions as they plan a connected learning environment. The opportunity is not simply to introduce new technology, but to create meaningful experiences that encourage learners to question, design and build with confidence.
Explore Ednex’s educational laboratory solutions and consider how applied autonomy learning can contribute to your institution’s technical education pathway. Start with a clear learning purpose, then build projects and environments around it.
Frequently Asked Questions
What is an autonomous vehicle kit for education?
An autonomous vehicle kit for education is a learning resource that helps students investigate how programmed systems operate in a physical setting. Its educational value comes from turning a design question into something learners can observe, analyse and discuss. For example, students might consider what information a vehicle needs to follow a marked route, then identify what they would need to learn or test to address that challenge.
How do autonomous vehicle kits help students learn coding?
They give students a practical context for exploring how instructions shape system behaviour. A class might compare a sequence of movement commands with a conditional rule that responds to an input, where the learning platform supports that activity. Students can trace how changing the order or logic affects the outcome, then explain which part of the program caused the difference. This makes code structure and debugging more concrete.
Can autonomous vehicle kits be used by beginners?
Yes. Beginners can start with a prepared activity and focus on one idea at a time, such as what a particular instruction is meant to do. An educator can then invite them to adjust a single setting or rule and observe the effect. As confidence grows, students can take on more design decisions. Clear task boundaries and a controlled testing area help make the first experience manageable.
What subjects can students study with autonomous vehicle kits?
Vehicle projects can support learning across computer science, robotics, mathematics, physics and design engineering. Students might use measurement and spatial reasoning to discuss a route, apply logic to a program or consider how physical design affects movement. A project can also prompt discussion of responsible technology, such as why automated decisions need defined limits. Educators can emphasise different disciplines according to the course and learning goals.
Are autonomous vehicle kits suitable for school and university learning?
They can support both when the task matches learners’ experience and the intended depth of study. School activities may focus on interpreting instructions or investigating a defined behaviour. At university, learners can take a more analytical approach by examining design assumptions, comparing methods or evaluating how a system responds to constraints. The learning challenge, not the vehicle alone, determines the level of study.
What is the difference between an autonomous vehicle and a remote-controlled vehicle?
The key difference is who determines the vehicle’s next action during a task. With remote control, a person sends movement commands as the vehicle operates. With autonomous behaviour, programmed logic uses available inputs to select at least some actions without continuous steering commands. A classroom project may combine both forms of control, so students can identify which decisions are automated and which remain with the human operator.
How can educators assess learning from an autonomous vehicle project?
Assess students’ reasoning as well as the project outcome. Ask learners to explain why they chose an approach, point to evidence from their tests and justify a revision. A simple rubric can consider whether they interpret observations accurately, connect decisions to the learning objective and recognise limitations in their results. A short individual explanation can also show what each student understands beyond the group’s final demonstration.
Related Posts ...
Comments are disabled