

Best Makerspace Solutions for Schools in the UAE
A makerspace isn’t defined by its most advanced machine. The strongest Makerspace Solutions for Schools create a collaborative place where K-12 students can explore ideas, solve problems and make tangible projects, using materials and tools that range from cardboard and textiles to electronics and digital fabrication. Hands-on learning is the purpose; technology is one way to support it.
Turning that idea into a useful school environment takes more than filling a room with equipment. Space, storage, safety, age groups, and curriculum all shape how students and teachers can use it. This guide explains what a school makerspace is, how to plan and equip one, and how to manage it for meaningful learning. It also explores activities with blocks, textiles, and electronics, showing how practical projects can connect creativity with classroom goals.
Key Takeaways
- Plan equipment and storage around the projects students will make, and scale resources to the school’s space and budget.
- Use the makerspace as a flexible, collaborative setting where learners turn ideas into tangible work through hands-on exploration.
- Shape the layout, supervision and routines around student ages, curriculum goals, safe use and the way the space will be scheduled.
- Connect blocks, textiles and electronics to open-ended activities, and consider Ednex’s school robotics and coding programs to extend hands-on learning.
1. Materials, equipment, storage, and budget
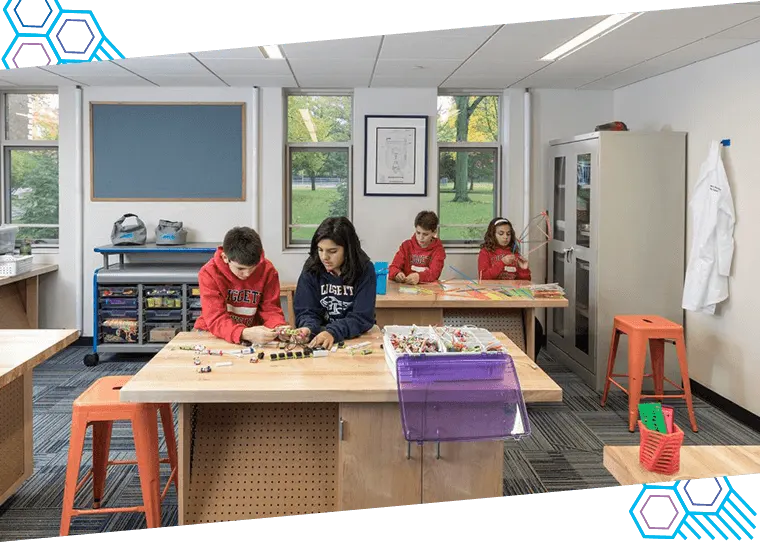
Schools can choose a fixed makerspace, a classroom corner, or mobile carts stocked for projects. Each option suits different spaces and teaching needs, while helping students explore design, engineering, and hands-on learning. Makerspace Solutions for Schools can range from portable activity stations to dedicated rooms with specialised equipment. A cart brings materials to classes; a dedicated room accommodates more tools and work areas.
Essential tools depend on planned activities. Cardboard, household items, LEGOs, and basic craft supplies support early building and prototyping. Electronics projects may need circuitry materials, while advanced work can add robotics equipment, 3D printers, or laser cutters. Eye protection, appropriate ventilation, and clear storage also matter when selecting equipment.
Start with learning goals, age groups, available space, and curriculum priorities. Map each planned activity to the materials and tools it requires, then separate shared essentials from specialist equipment. For example, a school introducing design challenges can begin with reusable building materials and add digital fabrication tools as projects develop.
Plan storage from the outset. Materials and unfinished projects can quickly fill work surfaces, so include labelled containers, shelves, and designated project areas. A mobile cart keeps frequently used supplies together, while secure storage helps organise tools between sessions.
Budget decisions shape the pace and scale of a setup. Schools can start with standard furniture and everyday materials, then add equipment according to program needs. Effective Makerspace Solutions for Schools prioritise tools that support recurring classroom activities, rather than advanced machines students and teachers are not yet ready to use.
In the UAE, schools can work with education technology integrators or specialist laboratory suppliers for equipment and setup. Define the scope according to the school’s needs: room design, selected tools, storage planning, or an integrated learning environment. This makes it easier to assess proposals against teaching goals.
2. Makerspace definition and purpose in K-12 schools
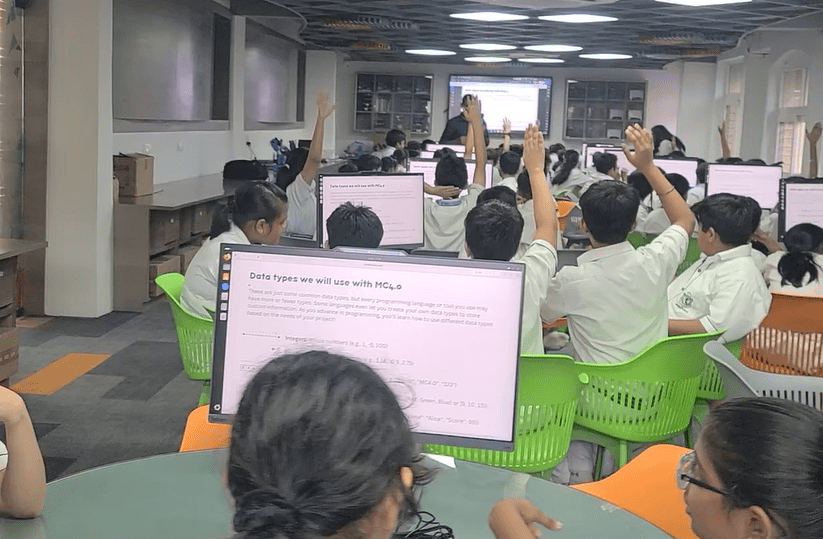
A school makerspace is a collaborative area where students explore, design, experiment, and build. It may be a classroom corner, a library zone, or a dedicated room. The defining feature is not a particular machine; it is learning through making, as students apply ideas to tangible challenges. Activities can use high-tech tools, simple materials, or both.
In K-12 education, the purpose is to connect concepts with purposeful action. A class studying structures, for example, can design a model bridge, test how it holds weight, then revise its design. This process brings engineering, mathematics, and creative thinking together. Teachers guide the challenge while students make choices about how to solve it.
Makerspaces centre on collaboration, exploration, and sharing. Students can work independently or in teams, explain their decisions, and respond to peer feedback. A library makerspace, for example, can connect a story to design by asking learners to create an object that solves a character’s problem. This makes reading part of an active, cross-curricular learning experience.
Define the learning purpose before choosing a makerspace’s location or format. A classroom-based area can support regular lesson integration, while a shared library space can serve different classes and projects. Schools can also distribute activities across existing rooms when a dedicated space does not suit their timetable or campus. Each format should make the intended learning clear.
Assess outcomes through project portfolios, observation, student reflection, and design revisions. For a bridge challenge, teachers can document how learners explain their choices, use feedback, and improve a model. These records capture both the finished work and the learning process, giving educators useful evidence for future lesson planning.
Schools shaping a purposeful environment can explore makerspace learning support as a way to connect hands-on projects with K-12 goals.
3. Planning, setting up and managing makerspaces
Begin professional planning with a design program that defines learning goals, users, activities, and operating needs. A school might map science investigations, engineering builds, and digital projects before assigning zones. This helps the layout support different tasks without disrupting nearby classrooms. Plans should also account for access, storage, security, electricity, plumbing, noise, and room to adapt.
Flexible design lets spaces evolve as students invent and programs develop. A central, visible location can make projects easier to share, while an outdoor work area can accommodate larger or messier builds. If one room cannot support every activity, distribute projects across classrooms. Furniture and work areas should allow for both individual exploration and team collaboration.
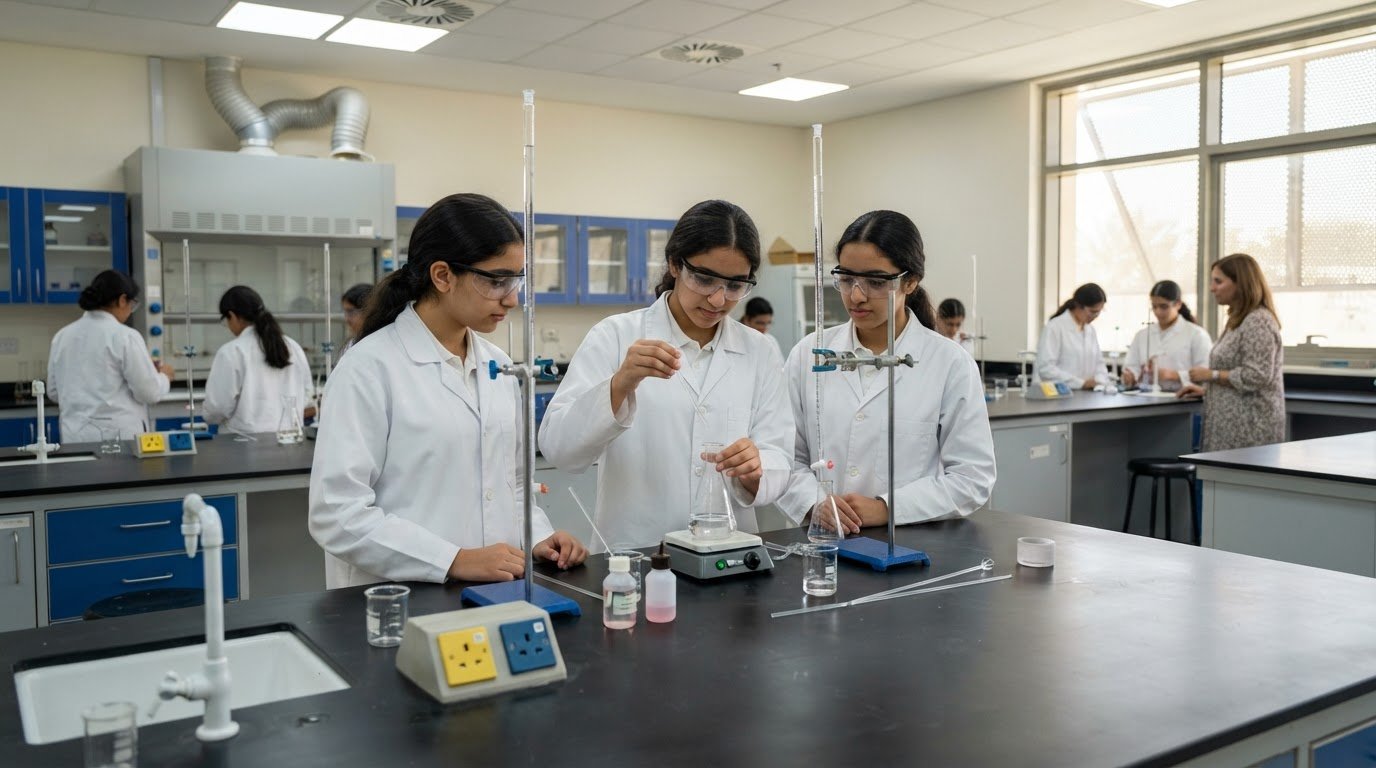
Practical safety rules include wearing eye protection when tasks require it, keeping work areas organised, and following tool-specific instructions. Staff should supervise students using equipment, and teacher training should cover safe operation, resource management, and design-thinking facilitation. Ventilation also matters for equipment that may produce odours or fumes. These measures establish clear routines suited to different tools and activities.
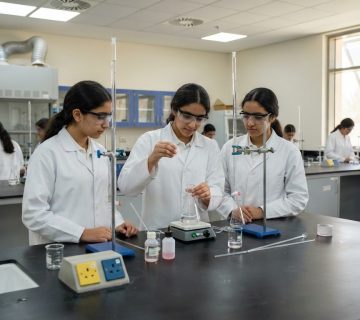
Age groups and learning goals shape both the layout and the activities. Younger students may need accessible materials and open work surfaces for guided building; older learners can use dedicated areas for robotics, prototyping, or digital design. A science investigation may need different equipment and cleanup routines than a textile project. Match design choices to student access and curriculum priorities.
Management planning should define who schedules the space, supervises sessions, prepares materials, and handles cleanup. A designated teacher can coordinate access, restock supplies, and resolve routine issues. Schools should decide whether makerspace use is scheduled or voluntary, and how clubs or parent groups can access the area beyond lessons. Review the layout as projects change, adjusting storage, routines, or zones to support continued innovation and critical thinking.
Activities with blocks, textiles, and electronics
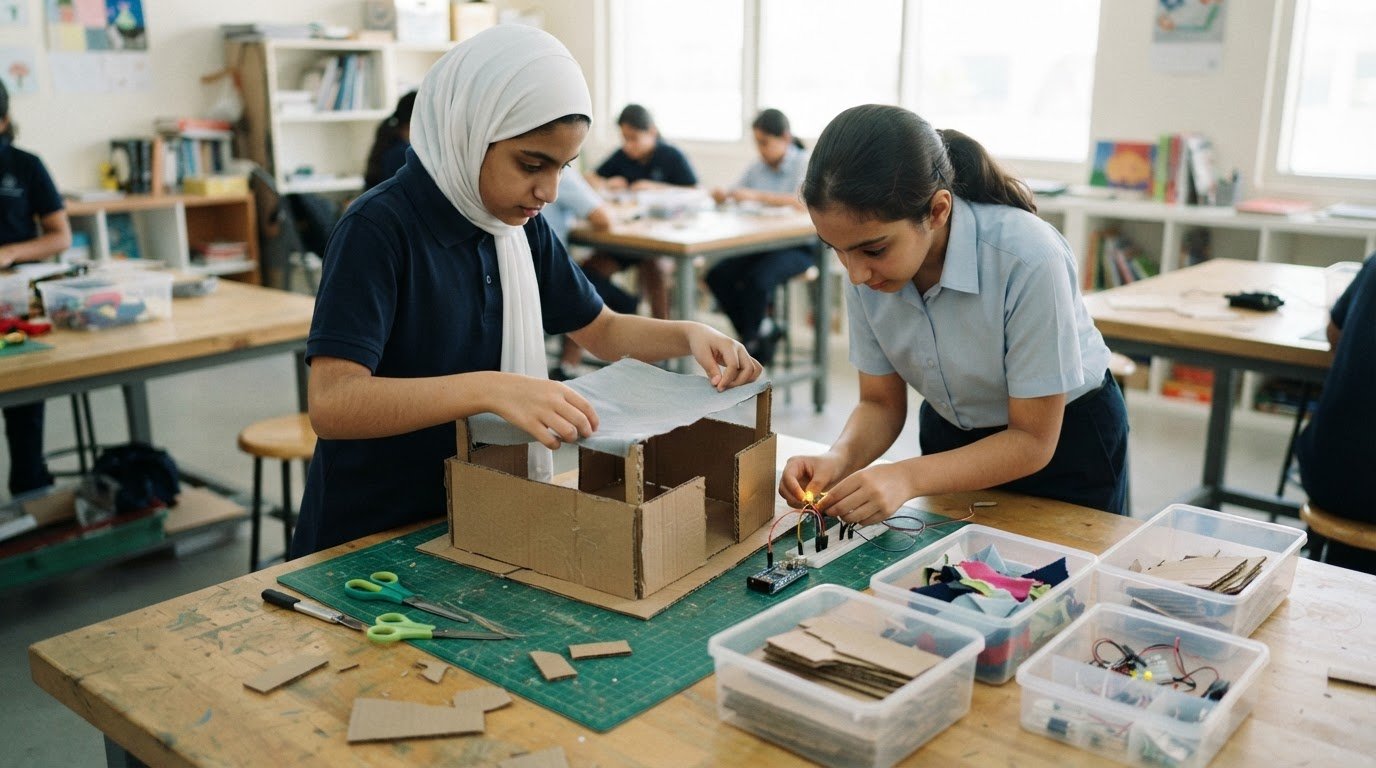
Blocks and cardboard turn design challenges into visible, testable projects. Students can build a tower, bridge, or marble run, then change its shape after observing what happens. Teachers can invite teams to plan, assign roles, and explain their design choices. The learning comes from the process, not from making identical objects.
Textile activities offer a different kind of making. Students can combine fabric, paper, and art supplies to create a useful object, costume, or soft model. They practise planning, measuring, joining materials, and revising a design when pieces do not fit. A mobile cart organised for textiles keeps supplies together and makes a focused activity easier to move between classrooms.
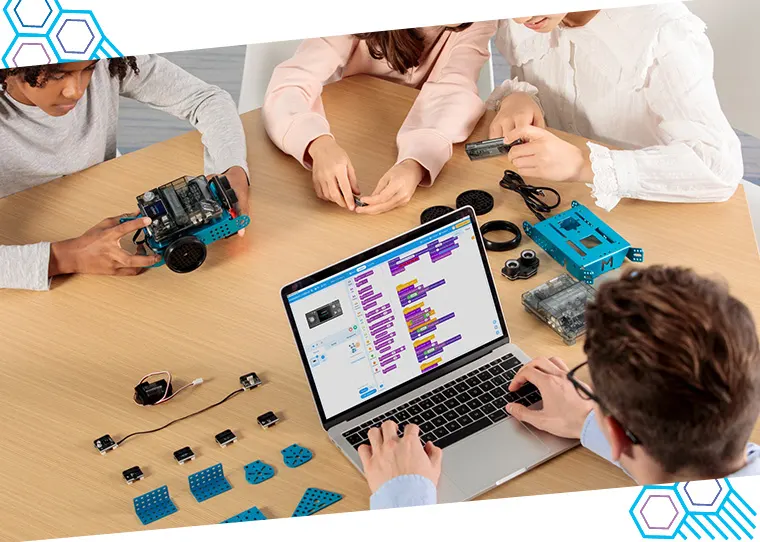
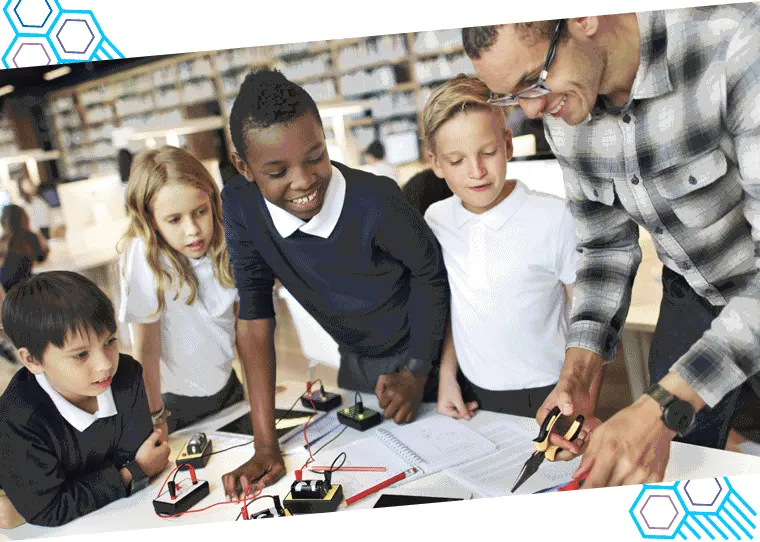
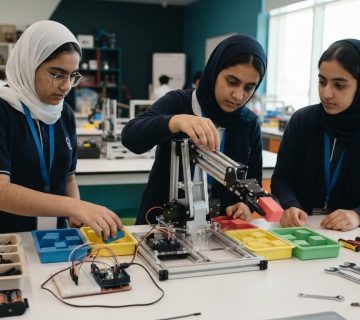
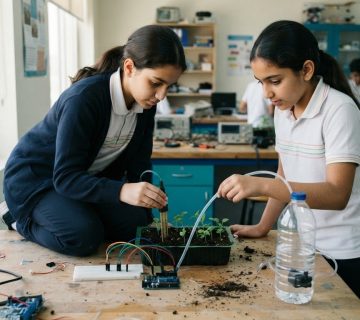
Electronics projects connect physical builds with circuits and, where appropriate, a computer. Paper circuits offer a hands-on introduction; robotics projects can extend the challenge to movement and coding. Students can document design changes, test how components work together, and present their finished project with an explanation of how it operates.
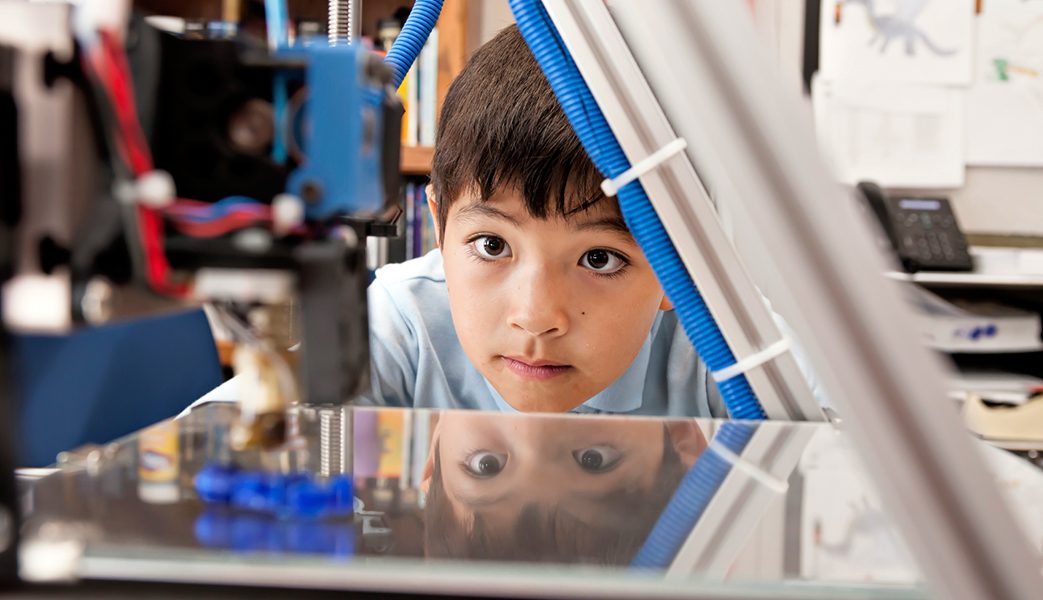
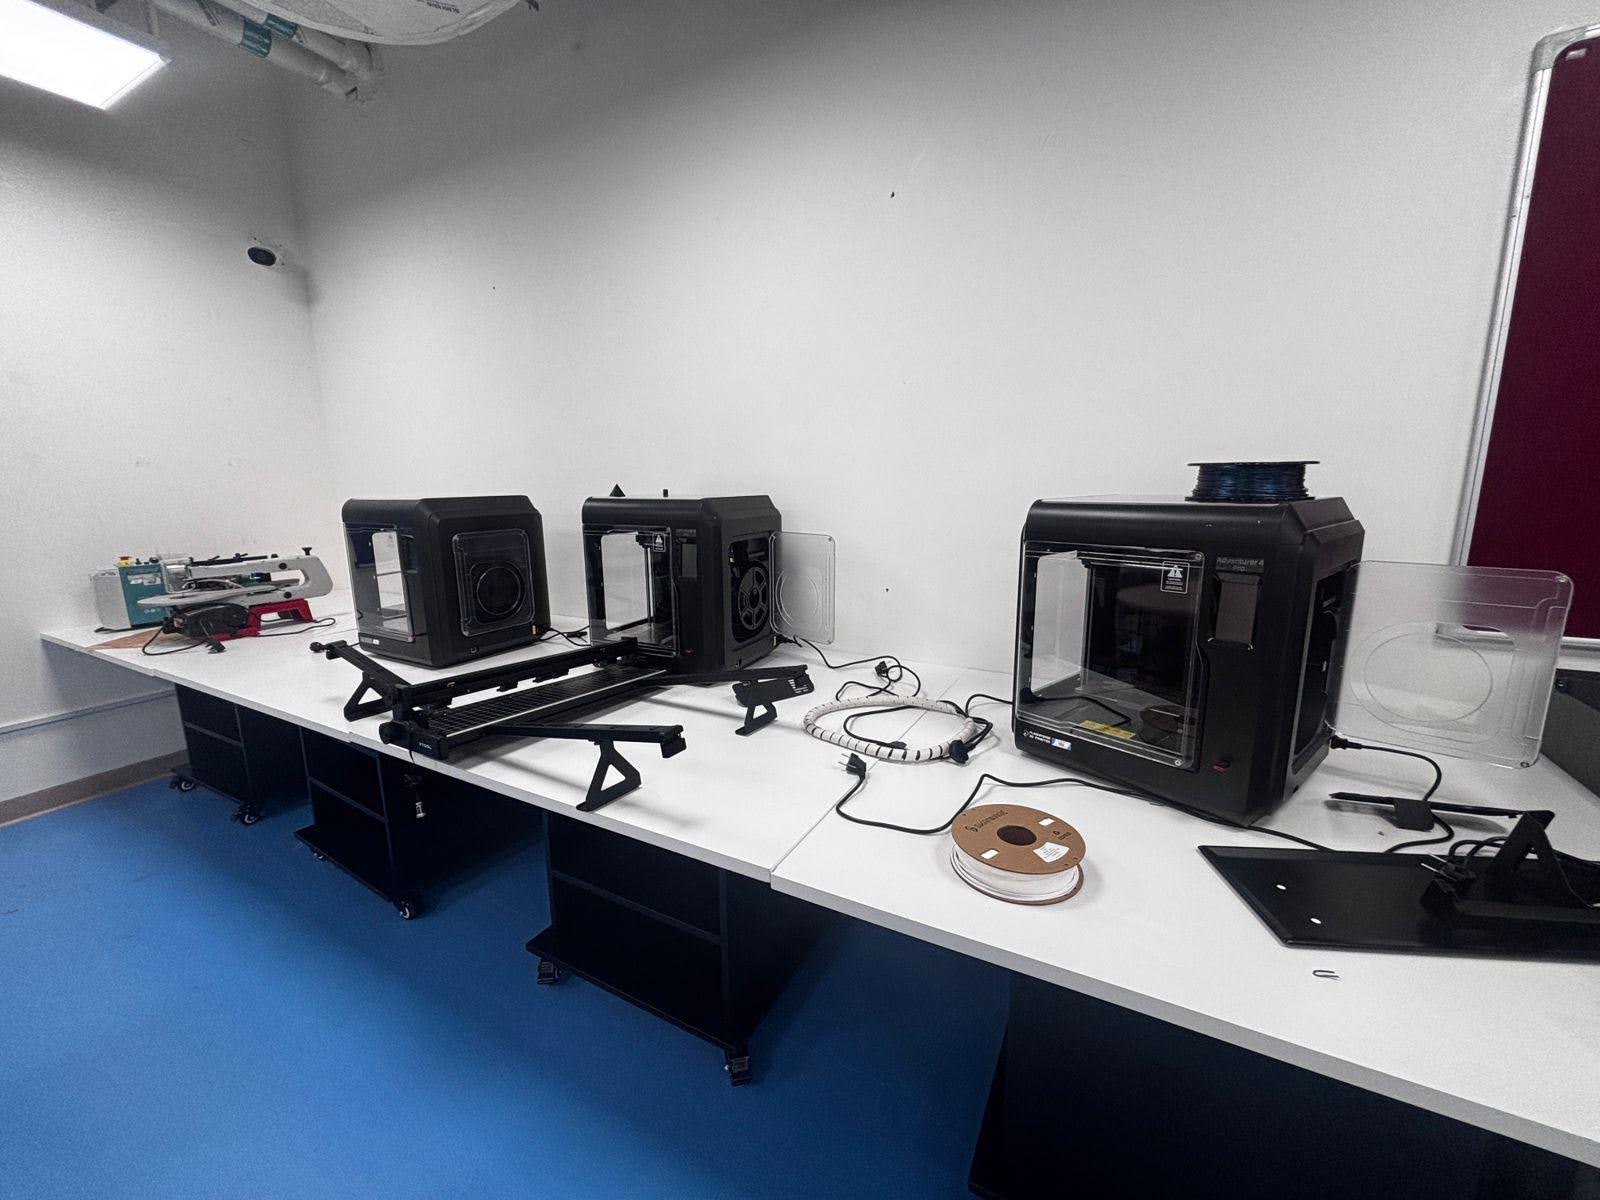
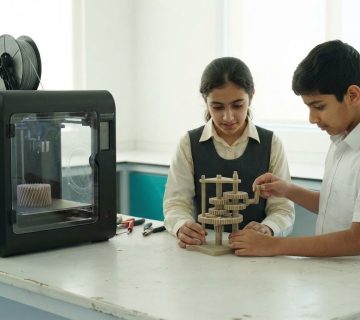
Digital tools can deepen these activities without replacing hands-on exploration. A 3D printer can turn a student’s digital design into a physical component for a model or prototype. Teachers can connect that process to a cardboard structure or textile design, allowing learners to compare materials and adapt their plans. The computer supports design and documentation; the finished object gives students something tangible to examine.
Organise effective sessions around a shared challenge, clear roles, accessible materials, and time for peer feedback. Keep blocks, textiles, and electronics supplies distinct, and make works in progress easy to identify between lessons. Students can refine their creations after critique, then present what changed and why. This cycle encourages collaboration, experimentation, and thoughtful design across subjects.
Schools developing electronics-based projects can explore support for hands-on electronics learning.
Ednex: Robotics and Coding for schools
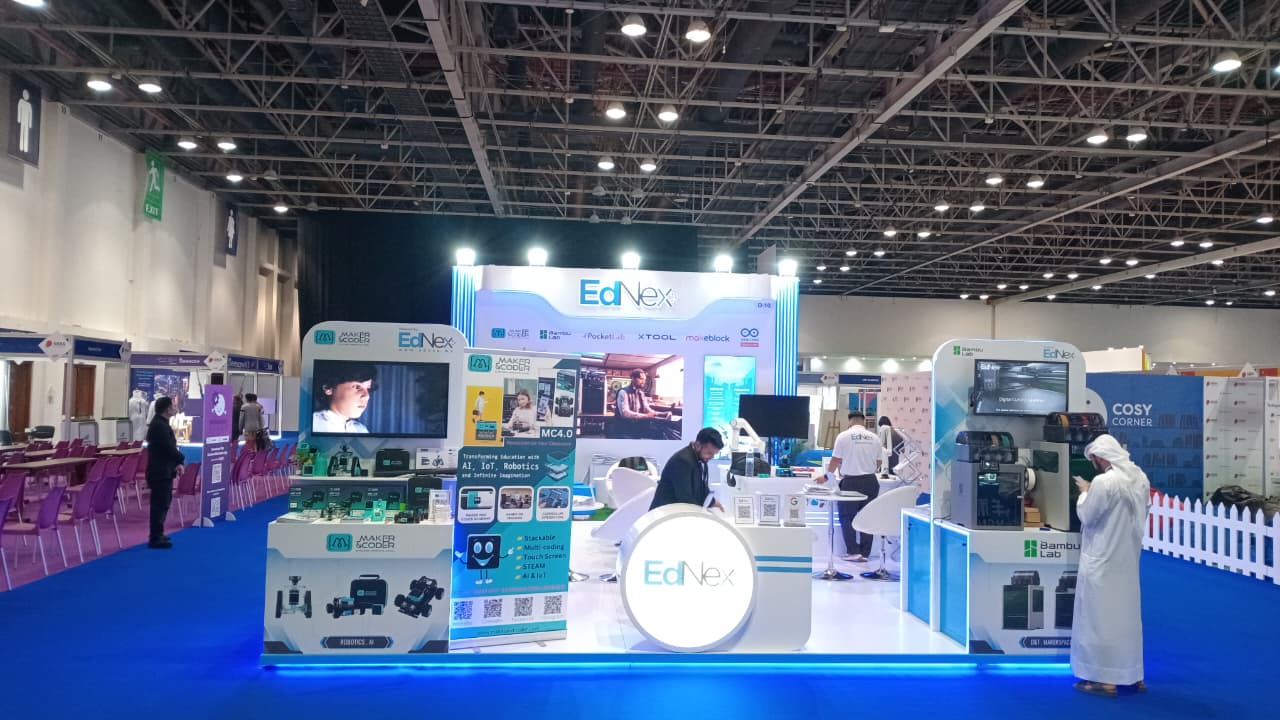
Ednex supports schools that want to connect hands-on makerspace activities with structured robotics and coding learning. Its Robotics and Coding for schools offering complements projects where students design, build, and explore how programmed systems work. For a broader learning pathway, Ednex also offers Makerspace and STEAM Programs, as well as After-School STEM Programs.
These options suit schools planning a creative learning environment or extending existing activities beyond regular lessons. The right approach depends on the school’s educational goals and how it wants students to use practical projects across their learning.
Contact Ednex to discuss robotics, coding, makerspace, or STEM learning for your school.
Turn a Learning Vision into a Schoolwide Pathway
A makerspace can become more than a room for projects when its activities connect with wider learning goals. Define the experience students should have, then shape a pathway that can grow with their interests and curriculum. Makerspace Solutions for Schools support this direction when design, learning activities, and teaching approach work together.
Ednex offers STEAM Programs, Robotics and Coding for schools, and Arduino Education. These offerings help schools extend practical learning from creative exploration into robotics, coding, and electronics. Choose a starting point based on the school’s priorities and how it wants students to engage with hands-on work.
Move the vision forward with a focused conversation about your school’s goals. Discuss makerspace plans with Ednex, and help create an environment where students can explore, make, and keep learning.
Frequently Asked Questions
What is a Makerspace?
A makerspace is a learning environment where students create, test, and improve ideas using practical materials and tools. It can support projects across subjects rather than functioning as a separate technology class. For example, students might design a model that demonstrates a science concept, then explain how their choices shaped the result. The central purpose is active learning through making.
How much does it cost to set up and maintain a school makerspace?
There is no single setup or maintenance cost; the budget depends on the space, equipment, and planned learning activities. Account for room preparation, furniture, tools, consumable supplies, storage, staff training, maintenance, and replacement materials. In the UAE, plan and compare expenses in AED, separating initial setup from ongoing needs. A phased equipment plan can align spending with curriculum priorities.
How can teachers integrate makerspaces into the curriculum?
Connect a making challenge to an existing lesson objective, then assess the knowledge students apply through the project. In mathematics, learners might model a geometric idea; in language arts, they could create an object inspired by a text and explain its design. A reflection, presentation, or project record can capture subject understanding alongside planning and problem-solving.
What funding options or grants can schools use to create makerspaces?
Schools can explore internal capital or activity budgets, parent-community fundraising, corporate sponsorships, and educational partnerships. The available route depends on each school’s funding policies and partner arrangements, so avoid basing plans on an assumed grant. A clear proposal can describe learning goals, intended student use, equipment priorities, and ongoing supply needs. Staged purchasing can spread investment across budget cycles.
What are the main risks and challenges of running a school makerspace?
Common challenges include unsafe tool use, insufficient supervision, equipment downtime, depleted consumables, and unequal access between classes. Reduce disruption by setting age-appropriate routines, assigning responsibility for equipment checks, and recording bookings and material use. Another risk is treating the space as a one-off attraction rather than part of instruction. Scheduling projects with curriculum links helps maintain purposeful use.
Related Posts ...
Comments are disabled