




Design and Technology Lab Setup with Furniture and Utilities in Dubai
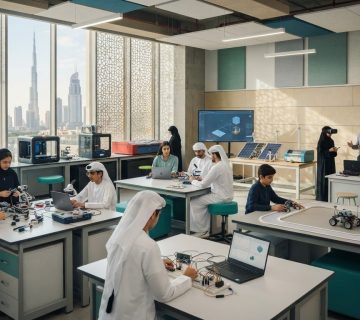
Furniture improves workflow when workstations, storage and utilities follow the way students move from designing to making and finishing projects. In a design and technology lab setup in Dubai, clearly planned zones help keep digital design, hands-on construction and material storage coordinated. The result is a space that supports practical learning while making equipment and project materials easier to access.
It’s easy to focus on machines first, but furniture shapes how well they fit into everyday teaching. Worktops should suit the activities, storage should keep materials organised, and utility connections should meet equipment requirements.
This guide explains how to plan workstations, furniture, storage, and utilities for a functional lab in the UAE. It also shows how layout, equipment selection, and project delivery fit together, helping schools make informed decisions about a space for design, technology, and student projects.
Key Takeaways
- Organise workstations and storage around the sequence of student projects, from digital design to making and finishing.
- Choose tools and materials to match the curriculum, activities and available workspace.
- Plan furniture, worktops and utility connections around equipment needs and the tasks carried out in each area.
- Coordinate layout, installation and commissioning so the lab is prepared for safe, hands-on learning.
DT lab workstations, tools, and storage
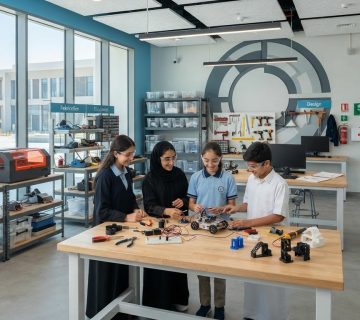
A design and technology lab setup should connect digital design stations with practical making areas. Plan each workstation around the tools and materials students need, and the sequence of their projects.
Workstations and Tools
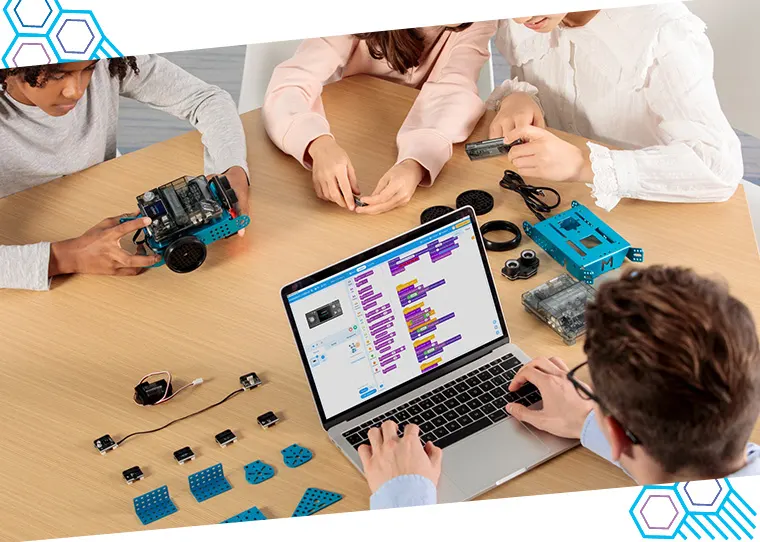
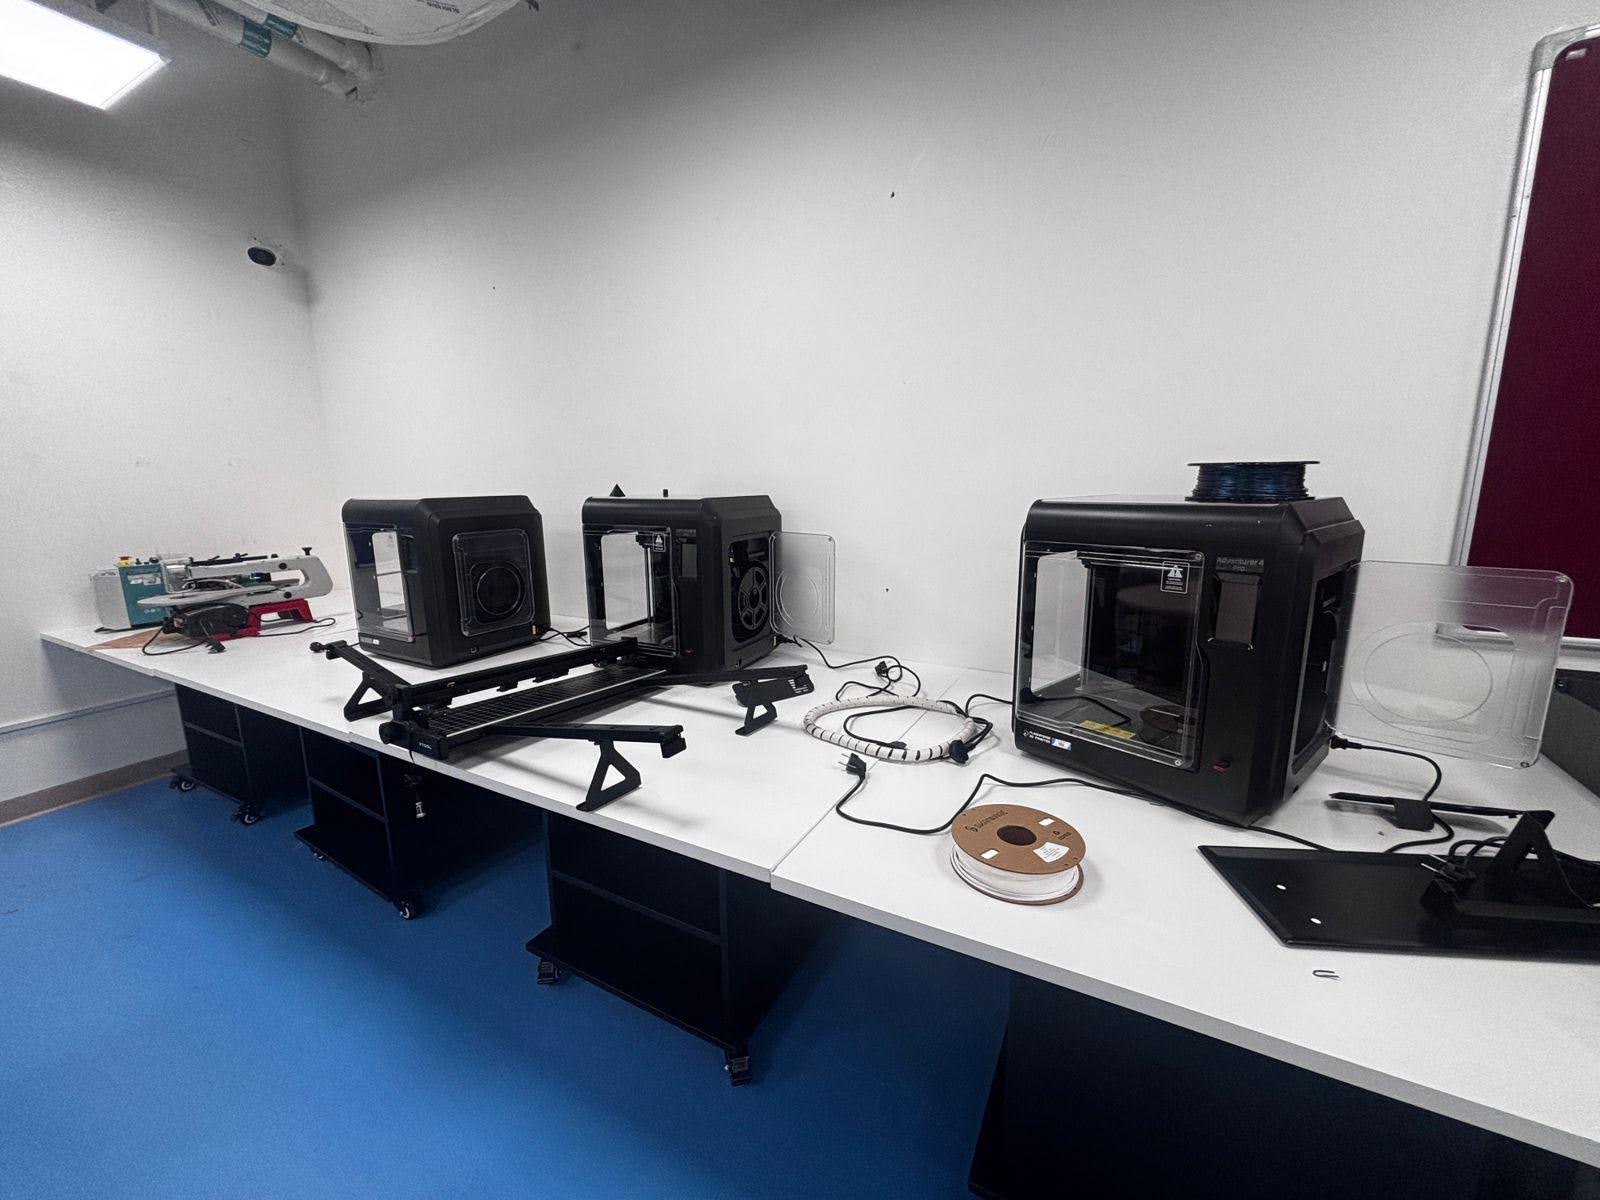
Start with the curriculum: CAD computers support digital designs, while 3D printers turn those designs into physical models. Laser cutters can cut or engrave wood, acrylic, or fabric from computer designs. CNC machines shape materials such as wood or metal with precision. Match each tool area to its activities, access needs, and material flow.
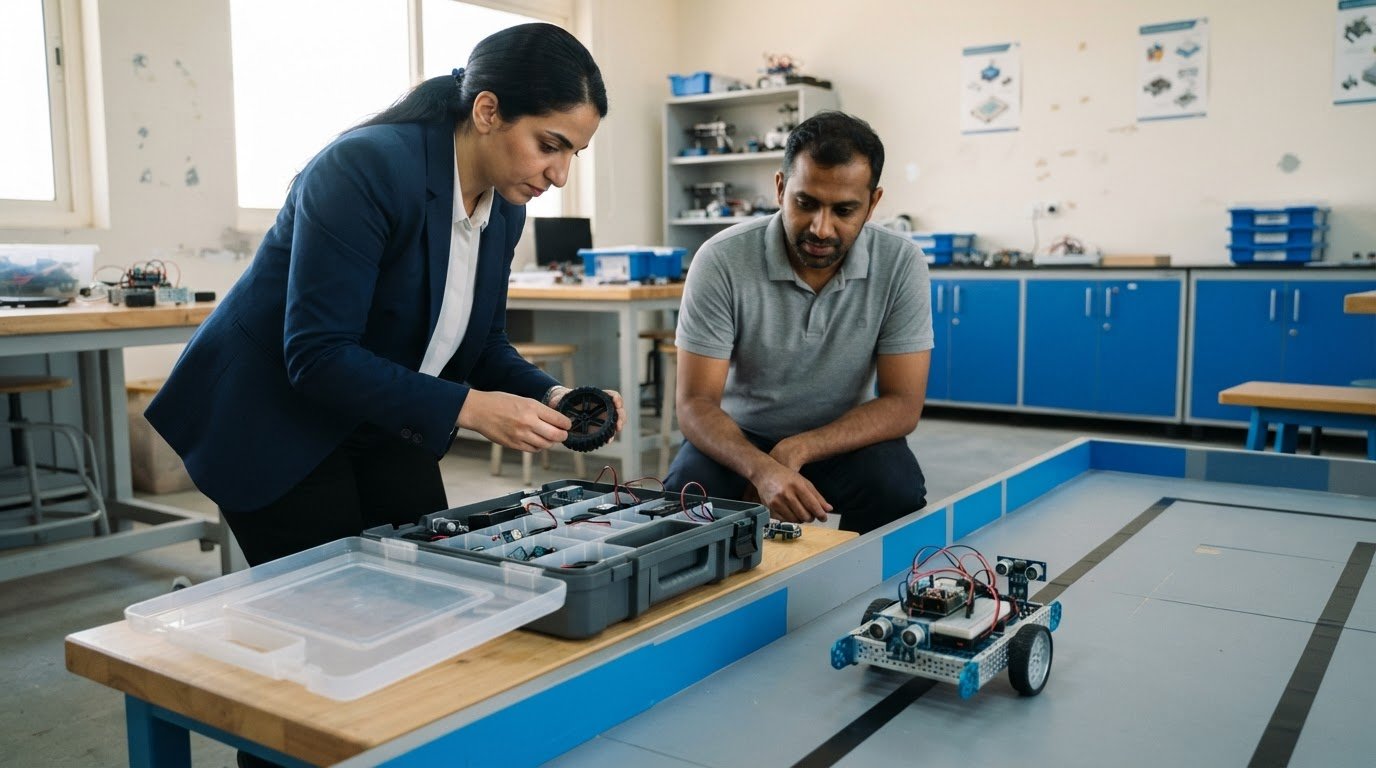
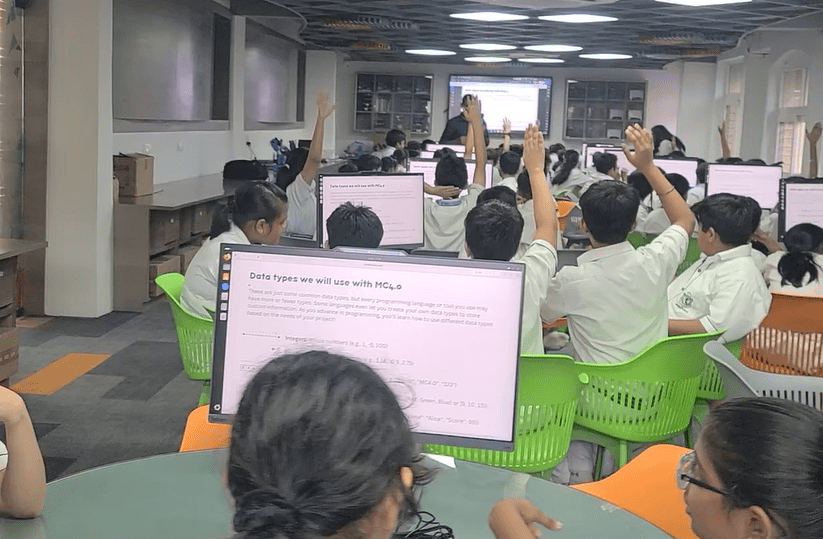
Arduino boards and microcontrollers support interactive electronics projects, while hand tools help students assemble and refine prototypes. A 3D Modeler PCB table can support PCB layout creation, visualisation, and simulation. Keep computer-based work distinct from equipment operation so students can move between design and fabrication with clear work surfaces.
Storage and Dust Extraction
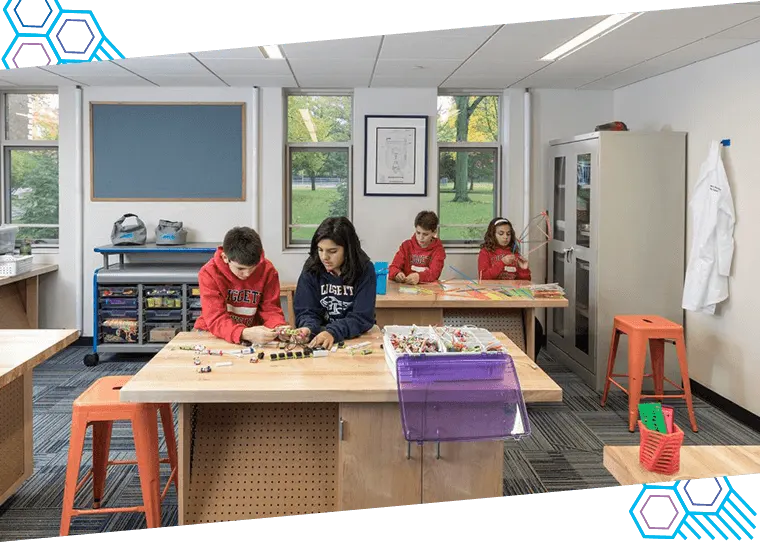
Organise storage by material and task. Label locations for wood, metals, plastics, cardboard, textiles, and electronic components, and keep frequently used materials near the relevant workstations. Separate consumables from completed student work, so prototypes remain accessible without crowding active benches. This also makes it easier to return tools after use.
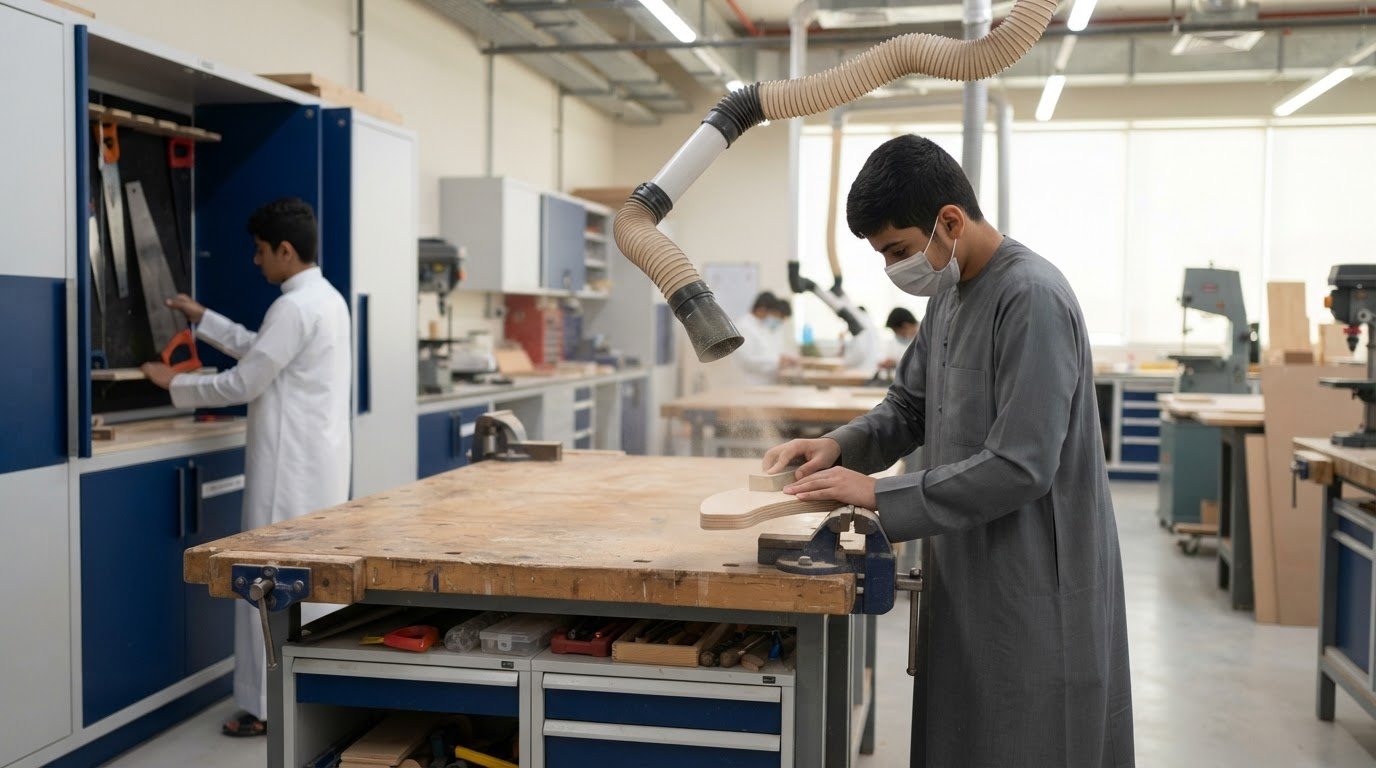
Dust-producing woodwork needs extraction planning alongside equipment placement. Extraction benches are among the listed wood-machining equipment, and their position should suit the workstations they serve. Keep storage from obstructing access to extraction equipment or creating clutter around cutting and shaping areas. Align the arrangement with the specific machines and materials used in the lab.
Include safety goggles, aprons, and gloves in student protection planning, along with fire extinguishers in the lab’s safety provisions. Consider dust extraction for wood-machining activities, and arrange equipment and material storage to keep work areas orderly and accessible.
Laboratory furniture, worktops, and utility integration
No single floor-area or electrical specification suits every D&T lab. Plan capacity around equipment footprints, activities, circulation, and the utilities required at each workstation.
Furniture and Worktops
Choose laboratory furniture to suit the tasks and materials at each workstation. Worktop materials should be appropriate for exposure to chemicals, heat, or biological materials, where relevant to planned activities. An electronics assembly bench may have different requirements from a model-making surface. Match the furniture layout to equipment access, storage, and student tasks.
UAE climate conditions also matter when assessing furniture materials for long-term performance. Consider the room’s intended use and expected material exposure together, rather than choosing benches by appearance alone. This helps align the work surface with the lab’s actual teaching activities.
Space and Layout Requirements
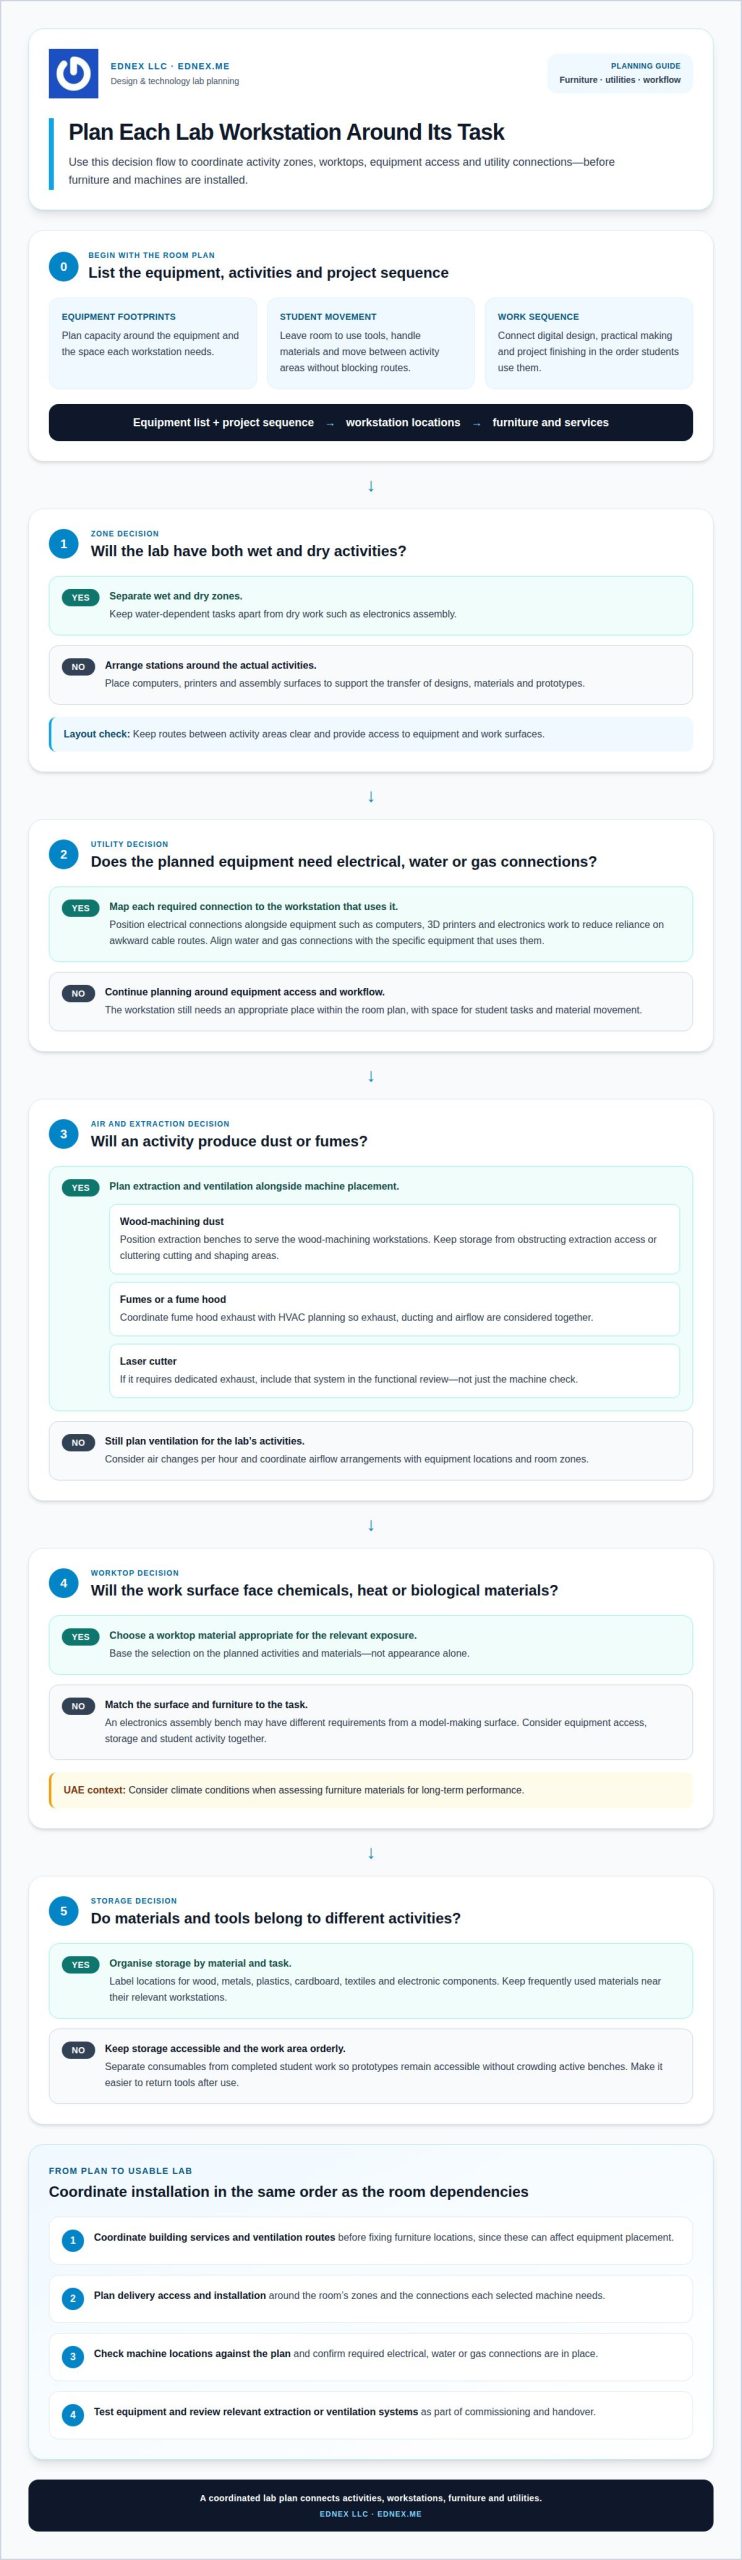
Build the room plan around the equipment list and sequence of work. Leave space for students to use workstations, handle tools, and move materials without blocking routes between activity areas. Separate wet and dry zones when both types of work take place. For example, keep water-dependent tasks apart from dry electronics assembly.
Position furniture to support those zones and maintain clear access to equipment. A 3D printer, computer station, and assembly bench each need a place within the workflow. Their arrangement should reflect how students transfer designs, materials, and prototypes between tasks.
Electrical and Ventilation Requirements
Map electrical connections to the equipment planned for each workstation. Computers, 3D printers, and electronics activities have different placement needs, so locating connections alongside equipment reduces reliance on awkward cable routes. Gas and water connections should also align with the specific equipment that uses them.
Ventilation planning should consider air changes per hour and the lab’s activities. Where fume hoods are part of the design, coordinate their exhaust with HVAC planning. This coordination helps align airflow arrangements with equipment locations and room zones. For circuit-focused teaching, an Electrical & Electronics Engineering Lab provides a relevant framework for planning a technically equipped learning space.
Project management, installation, and commissioning
Coordinate the project from room planning through equipment handover. Link the approved layout with building services, furniture delivery, installation, and operational checks. Align the lab plan with intended teaching activities and equipment before work begins, and identify dependencies such as ventilation for equipment that produces fumes.
Map each machine and workstation to its location, utility connections, and installation requirements. Record the electrical, water, or gas connections needed for the selected equipment, and include extraction and ventilation in the coordination plan. For projects in the UAE, coordinate fume hood exhaust with HVAC planning so that exhaust, ducting, and airflow are considered together.
Use the layout to set a practical installation sequence. Coordinate building services and ventilation routes before fixing furniture locations, as these can affect equipment placement. Then plan delivery access and installation around the room’s zones. For example, group wet-area equipment with its required connections and arrange dry workstations for their planned activities.
Commissioning helps turn an installed room into a usable teaching environment. Check machine locations against the plan and confirm that required utility connections are in place. Test equipment and review extraction or ventilation systems serving relevant work areas. If a laser cutter requires dedicated exhaust, include that system in the functional review rather than checking the machine alone.
Complete the project with a handover that records installed equipment, utility locations, and operating information. Organise these details by workstation so staff can identify the systems serving each activity. A final walkthrough can confirm that furniture, equipment, and circulation routes match the intended layout. This coordination helps schools move from installation to practical use with fewer unresolved dependencies.
Design and technology lab setup in Dubai, UAE
A school lab should connect teaching goals with equipment, room zones, and safety planning. Designs in the UAE may need to account for civil defence requirements, education authority specifications, and environmental safety regulations.
Workshop Zone Planning
Assign areas according to the work involved. Woodworking with saws or lathes needs a planned machining area, while electronics assembly benefits from a clean, dry bench. Keep textile projects such as sewing apart from dusty processes. Position prototyping so students can move between digital design and fabrication without crossing active machine zones.
Give metalworking equipment, including lathes and lathe-and-mill equipment, a defined work area. Group related tools and materials, then plan routes between zones around the sequence of student tasks. A display area can showcase completed projects and provide a clear destination for prototypes after construction.
Setup Risks and Mistakes
A common planning risk is placing equipment before considering the processes involved. Saws, for example, create dust, while activities that produce fumes may need coordinated exhaust and ventilation. Separate wet and dry work, and avoid routes that take students through active machining areas to reach electronics benches or stored materials.
Include suitable protective equipment, such as goggles, aprons, and gloves, as well as fire extinguishers in safety planning. Consider emergency shower and eyewash placement as part of the room plan. If these provisions are treated as an afterthought, they may end up poorly positioned relative to work areas. Integrate them into the layout alongside equipment access and circulation.
For practical learning, pair CAD computers with fabrication areas and plan storage for wood, metals, plastics, textiles, and electronic components. This supports the move from design to making, while distinct zones help limit conflicts between activities. Choose an arrangement that reflects the school’s curriculum and the tools students will use.
Plan your UAE lab around its teaching activities, equipment, and safety provisions. Plan your design and technology lab with Ednex LLC using a layout that connects these decisions.
Ednex: Design & Technology Lab
Ednex helps schools translate design and technology learning goals into a practical lab through its Design & Technology Lab offering. It’s a natural next step once the required workstations, tools, storage, utilities, and safety zones are clear, and need to be brought together as a coherent learning space.
The lab can support hands-on projects that connect digital design with making and prototyping. Schools can align the space with STEAM Programs, Robotics and Coding for schools, or Arduino Education, depending on the learning activities they plan. This integrated approach connects the room’s capabilities to the teaching programme rather than treating equipment as a standalone purchase.
For schools creating a new learning environment or rethinking an existing room, Ednex can shape a Design & Technology Lab around the intended curriculum and practical project work. Contact Ednex to discuss your lab plans.
Shape the Next Stage of Learning
A well-planned design and technology lab setup can give students a foundation for exploring ideas, developing practical skills, and tackling new challenges. Connect the space to your school’s educational direction so that decisions about the learning environment support the projects and capabilities you want students to develop.
Plan beyond the room’s opening. Consider how teaching priorities may evolve, which learning experiences should take place there, and how the space can remain relevant as those priorities grow. A clear project vision gives planning conversations a practical focus and helps turn aspirations into a purposeful learning environment.
Ednex can discuss how its Design & Technology Lab offering may align with your school’s plans. Contact Ednex about your lab setup and take the next step toward a space designed around learning and possibility.
Frequently Asked Questions
How can laboratory furniture improve workflow?
Well-positioned furniture reduces unnecessary movement between project stages. A student, for example, can take a digital design from a computer station to a nearby assembly bench without carrying materials across the room. Drawers or labelled storage near the work area also make components easier to put away after a lesson. Choose furniture for the tasks it supports, not just the room’s appearance.
What is the best way to place laboratory equipment?
Place equipment according to how students will use it and the space each machine needs. A CAD computer should connect logically to the fabrication area where models are produced. Group equipment by process, and keep relevant utility connections and extraction systems accessible. A planned sequence helps students move from design to finished prototype with fewer interruptions.
Why is laboratory layout design important?
A considered layout can support teaching, movement, and project visibility at once. A teacher, for instance, can explain a design at a whiteboard or projector, then direct students to the relevant workstation. A display area gives completed work a visible place. Planning these features together helps the space function as both a workshop and a learning environment.
What is a design and technology lab and what activities should it support?
A design and technology lab is a classroom or workshop where students learn design processes, use technology, and explore manufacturing techniques through practical projects. Activities may include developing a CAD model, making a prototype, assembling an electronics project, or working with textiles. The lab should give students room to test ideas, refine designs, and see how digital plans become physical outcomes.
What equipment and tools are needed for a school design and technology lab?
Equipment depends on the curriculum and planned projects. A school may combine CAD computers with 3D printers, laser cutters, CNC machines, robotics equipment, microcontrollers, and hand tools. Materials might include cardboard, plastics, textiles, wood, and electronics components. Select a purposeful mix: a prototyping unit could need modelling and fabrication tools, while an electronics project may call for microcontrollers and a PCB design workspace.
Which machines and tools are suitable for primary, secondary, and university D&T labs?
Suitability depends on curriculum, project complexity, and the level of instruction. Primary settings can focus on CAD, hand tools, simple prototyping, and guided electronics activities. Secondary labs may add 3D printers, sewing machines, laser cutters, and CNC equipment to support broader design projects. University facilities can include PCB design workspaces, metal lathes, and advanced manufacturing equipment for specialised technical work.
Related Posts ...
Comments are disabled