






Arduino Education Kits: A Beginner’s Buying Guide for First-Time STEM Coordinators
Arduino education kits have become a popular entry point for schools looking to introduce students to electronics, coding, robotics, automation, and hands-on STEM learning.
For a first-time STEM coordinator, however, choosing the right Arduino-based learning equipment can be more complicated than simply selecting a kit with the most components. Schools need to consider student age, curriculum objectives, teacher experience, classroom capacity, project requirements, safety, software, replacement parts, and long-term scalability.
The right kit should not only provide components. It should help teachers create meaningful learning experiences where students can build, program, test, troubleshoot, and improve their own projects.
This beginner’s buying guide explains what STEM coordinators should consider when selecting Arduino education kits for schools and how to build a practical Arduino-based learning program.
What Are Arduino Education Kits?
Arduino education kits are learning packages designed to help students explore programming, electronics, sensors, automation, and physical computing.
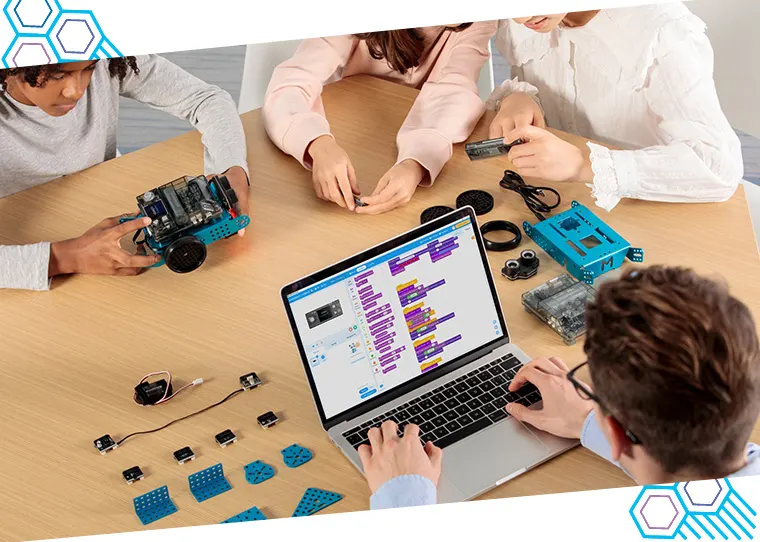
An Arduino-based project typically combines a programmable microcontroller with electronic components such as sensors, LEDs, motors, switches, displays, and communication modules.
Students can write code to control these components and observe how software interacts with the physical world.
For example, students can build projects involving:
- Automatic lighting
- Temperature monitoring
- Smart plant systems
- Obstacle detection
- Miniature automation systems
- Robotics
- Environmental monitoring
- Motion detection
- Electronic games
- Smart classroom prototypes
This makes Arduino particularly useful for project-based STEM education.
Why Should Schools Use Arduino for STEM Learning?
Arduino can help students connect abstract programming concepts with physical outcomes.
Instead of writing code that only produces information on a computer screen, students can write a program that turns on an LED, reads a sensor, moves a motor, or triggers an alarm.
This creates an immediate connection between coding, electronics, and engineering.
Students can develop skills in:
- Computational thinking
- Programming
- Electronics
- Circuit design
- Problem-solving
- Debugging
- Engineering design
- Data collection
- Prototyping
- Teamwork
For STEM coordinators, this makes Arduino a flexible platform that can support different subjects and learning levels.
1. Start With Your Curriculum, Not the Kit
One of the most common mistakes for first-time buyers is choosing a kit before deciding what students need to learn.
The better approach is to begin with curriculum objectives.
Ask:
- What grade levels will use the equipment?
- Which programming concepts should students learn?
- Will students study electronics?
- Are robotics projects part of the curriculum?
- How much project-based learning is planned?
- Will Arduino be used in regular lessons or extracurricular activities?
- What skills should students demonstrate by the end of the program?
For example, if the objective is to introduce basic coding and electronics, a starter kit may be sufficient.
If students are expected to develop robotics, IoT, automation, and sensor-based projects, the school may require a more comprehensive equipment setup.
2. Choose the Right Kit for the Student Age Group
Arduino education should be appropriate for the students using it.
Younger students may benefit from simplified interfaces, guided projects, visual programming, and basic electronics.
Older students can gradually move toward text-based programming, circuit design, sensors, robotics, data processing, and more advanced engineering projects.
A useful progression might look like:
Beginner: LEDs, buttons, basic sensors, simple programming
Intermediate: Motors, displays, multiple sensors, data collection
Advanced: Robotics, IoT, automation, wireless communication, complex programming
STEM coordinators should avoid purchasing advanced equipment that students are not ready to use.
3. Check What Is Included in the Kit
Not all educational kits provide the same level of functionality.
Before purchasing, review the complete component list.
Common components may include:
- Arduino-compatible boards
- Breadboards
- Jumper wires
- LEDs
- Resistors
- Push buttons
- Potentiometers
- Buzzer modules
- Temperature sensors
- Light sensors
- Ultrasonic sensors
- Servo motors
- DC motors
- Displays
- Communication modules
- Power supplies
- Storage cases
A kit with a wide range of components can support more projects, but schools should prioritize components that directly support their curriculum.
4. Consider the Number of Students Per Kit
This is one of the most important purchasing decisions for schools.
If students work in teams, one kit may serve several learners. However, too many students sharing one kit can reduce hands-on participation.
A STEM coordinator should determine whether the preferred model is:
- One kit per student
- One kit per pair
- One kit per small group
- Shared laboratory equipment
For practical STEM learning, smaller groups can give students more opportunities to wire circuits, write code, test systems, and troubleshoot problems.
The school should balance student participation with budget requirements.
5. Evaluate Programming Requirements
Arduino education kits are strongly connected to programming.
Before purchasing, STEM coordinators should understand how students will program the boards.
Consider whether the learning environment supports:
- Beginner programming
- Text-based coding
- Block-based programming
- Sensor programming
- Motor control
- Debugging
- Data logging
- Advanced project development
The software experience should match students’ existing skills and the learning objectives of the course.
Teachers should also have access to appropriate learning resources so they can confidently guide students.
6. Look Beyond the Hardware
A kit is only one part of an effective Arduino education program.
Schools should also consider:
- Lesson plans
- Teacher guides
- Student project instructions
- Tutorials
- Training
- Troubleshooting resources
- Software support
- Replacement components
- Technical assistance
For first-time STEM coordinators, these supporting resources can be particularly valuable.
A technically excellent kit may not deliver good educational outcomes if teachers do not know how to integrate it into lessons.
7. Think About Teacher Training
Teacher confidence can have a major impact on STEM equipment utilization.
Before launching an Arduino program, teachers should understand:
- Board setup
- Basic programming
- Circuit connections
- Sensor integration
- Motor control
- Troubleshooting
- Safe equipment use
- Project development
- Classroom management
Teacher training can begin with simple projects and gradually introduce more advanced applications.
The goal is to help teachers become facilitators who can guide students through experimentation rather than simply following a fixed instruction sheet.
8. Check Compatibility and Expandability
A good education kit should provide room for growth.
Schools may initially teach simple electronics but later introduce robotics, automation, IoT, or environmental monitoring.
Before purchasing, STEM coordinators should consider whether the platform can support additional:
- Sensors
- Motors
- Displays
- Communication modules
- Robotics components
- IoT systems
- External power supplies
- Educational accessories
Expandable systems can provide greater long-term value because schools can build upon the initial investment.
9. Plan for Replacement Parts and Consumables
Electronic components can be misplaced or damaged during classroom activities.
Schools should therefore consider replacement availability before making a purchase.
Frequently replaced items may include:
- Jumper wires
- LEDs
- Resistors
- Breadboards
- Connectors
- Cables
- Batteries
- Sensors
A supplier that can provide replacement components and technical support can help reduce disruption to lessons.
10. Consider Storage and Classroom Organization
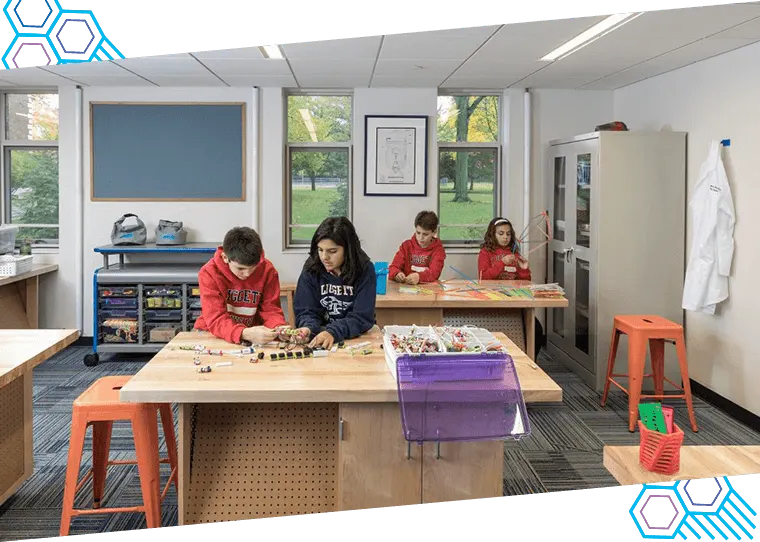
Arduino kits contain many small components.
Without proper organization, teachers can spend significant time searching for parts or identifying missing components.
Schools should consider:
- Component storage boxes
- Clearly labeled compartments
- Student project trays
- Charging arrangements
- Inventory systems
- Equipment checklists
A well-organized STEM laboratory can improve lesson efficiency and reduce equipment loss.
11. Build Projects Around Real-World Problems
Arduino becomes more educationally valuable when students use it to solve practical problems.
Instead of asking students only to connect an LED, teachers can introduce challenges such as:
How can we design an automatic classroom light?
How can we monitor room temperature?
How can we create a smart plant-watering system?
How can we detect an obstacle using sensors?
How can we design a simple automated security system?
Students can then apply programming and electronics knowledge to develop solutions.
This project-based approach encourages creativity, testing, iteration, and engineering thinking.
12. Create a Progressive Arduino Learning Path
A school can introduce Arduino through a structured progression.
Level 1: Basic Electronics
Students learn circuits, LEDs, resistors, switches, and basic programming.
Level 2: Sensors
Students learn how to collect information from the physical environment.
Level 3: Actuators
Students control motors, buzzers, servos, and other outputs.
Level 4: Integrated Projects
Students combine sensors, programming, and outputs into functional systems.
Level 5: Robotics and Automation
Students apply Arduino concepts to mobile robots, automated systems, and engineering projects.
This progression makes it easier for students to develop confidence before moving into complex projects.
Common Buying Mistakes to Avoid
First-time STEM coordinators can avoid several common purchasing mistakes.
Buying Based Only on Price
The cheapest kit may not offer sufficient quality, support, or expandability.
Buying Too Many Components
A large component count does not automatically mean greater educational value.
Ignoring Teacher Training
Without training, expensive equipment may remain underused.
Not Planning for Class Size
Insufficient kits can reduce hands-on participation.
Forgetting Replacement Parts
Small electronic components can be lost or damaged during student projects.
Choosing Equipment Without Curriculum Alignment
Every major purchase should support a specific learning objective.
Choosing a STEM Education Partner
For schools introducing Arduino-based learning for the first time, supplier support can make implementation easier.
Schools should evaluate whether a provider can support:
- Equipment selection
- Laboratory planning
- Installation
- Teacher training
- Curriculum integration
- Technical support
- Replacement components
- Future expansion
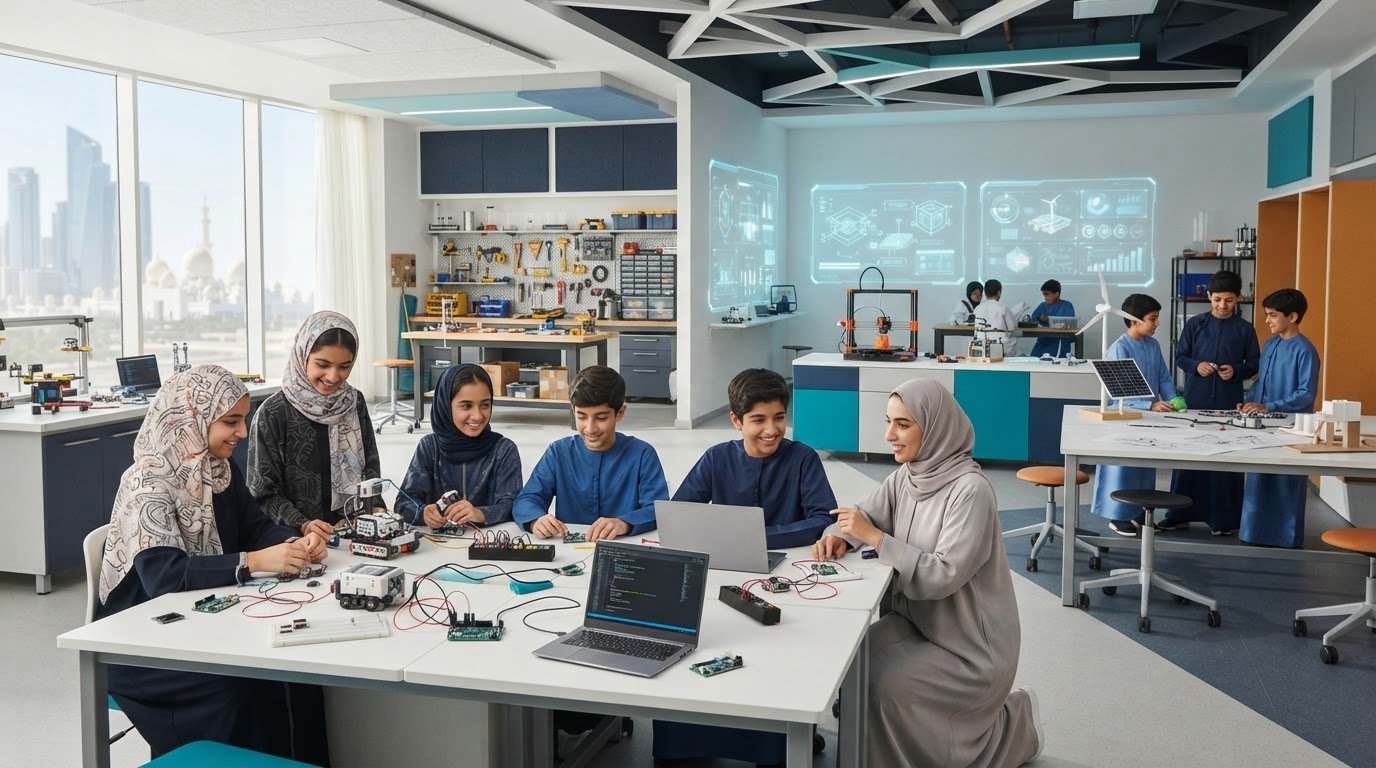
EdNex provides laboratory and educational technology solutions for institutions developing practical STEM learning environments.
The right partner can help schools move beyond simply purchasing kits and develop a complete learning environment around them.
Conclusion
Arduino education kits can provide an accessible and flexible way for schools to introduce students to programming, electronics, robotics, automation, and engineering design.
For first-time STEM coordinators, however, the best buying decision is not necessarily the kit with the largest number of components.
The right choice should be based on curriculum requirements, student age, class size, teacher capabilities, project objectives, expandability, support, and long-term value.
Schools should also consider the complete learning ecosystem, including teacher training, lesson resources, storage, replacement parts, and technical support.
When implemented thoughtfully, Arduino can become more than a classroom electronics activity. It can provide students with a practical platform for designing, building, programming, testing, troubleshooting, and improving real-world solutions.
For schools beginning their STEM journey, a carefully planned Arduino education program can provide a strong foundation for more advanced learning in robotics, IoT, automation, and engineering.
Frequently Asked Questions
1. What should schools look for when buying Arduino education kits?
Schools should consider curriculum alignment, student age, class size, included components, programming requirements, teacher training, replacement parts, technical support, and the ability to expand the kit for advanced projects.
2. How many Arduino kits does a school need?
The number depends on class size and teaching methodology. Schools can provide one kit per student, pair, or small group. Smaller groups generally provide more opportunities for students to participate directly in building, programming, and troubleshooting.
3. Are Arduino education kits suitable for beginners?
Yes. Arduino can be introduced through basic projects involving LEDs, buttons, sensors, and simple programming. Students can then progress toward motors, robotics, automation, IoT, and more advanced engineering projects.
4. Why is teacher training important for Arduino-based STEM programs?
Teacher training helps educators understand hardware, programming, circuit connections, troubleshooting, and project development. It also helps teachers integrate Arduino activities effectively into the curriculum.
5. Can Arduino education kits be used for robotics and automation projects?
Yes. Arduino platforms can be used as a foundation for many robotics and automation projects. Students can integrate sensors, motors, actuators, communication modules, and programming to develop practical autonomous and automated systems.
Related Posts ...


Comments are disabled